Until last week, a section of my son's bedroom floor squeaked. And it creaked. And it even groaned. His bedroom floor is carpeted, and the section in question is positioned
exactly in front of his bed. The floor creaked when he got in and out of bed. It squeaked when I made the bed or tucked him in at night. My son said he enjoyed the
old house sound. Great if the house were, indeed, historic. But, it's not. Those floors needed an intervention.
At some point last week, I could not take the sound any more. When I investigated, I learned that the squeaky section of floor sits above the kitchen's tray ceiling. Aha. I'll bet that there is a gap at the point where the floor joists and the tray ceiling structure are secured to the sub floor. But, what to do? This is a carpet-covered sub floor that is located in a second floor room. I do not have access to add shims to the joists below. I searching the Internet and, after about ten minutes, I found my solution.
I watched a
video, from one of my favorite
fix-it shows, that demonstrated how to use a product,
Squeeeeek No More Floor Repair Kit, to fix a squeaky floor in a carpeted bedroom. They fixed a squeaky floor in about 30 minutes using the kit and an electric screwdriver.
 |
| Squeeeeek No More parts |
The kit, available via several home improvement stores and websites, includes specially designed tools that fix the floor while leaving the carpeted surface unmarred. I decided THAT is what I needed. For less than thirty dollars, it was worth a shot. I ordered my kit and extra screws online, and anxiously awaited its arrival.
 |
| Squeeeeek No More kit and extra screws arrived Friday. |
This past weekend, my husband and I set aside time to silence the squeaks once and for all. We moved the bed out of the way and began looking for joists around where the squeaks originated. We used the included drill bit tool for this task:
 |
| Locate joists in the floor using special drill attachment. |
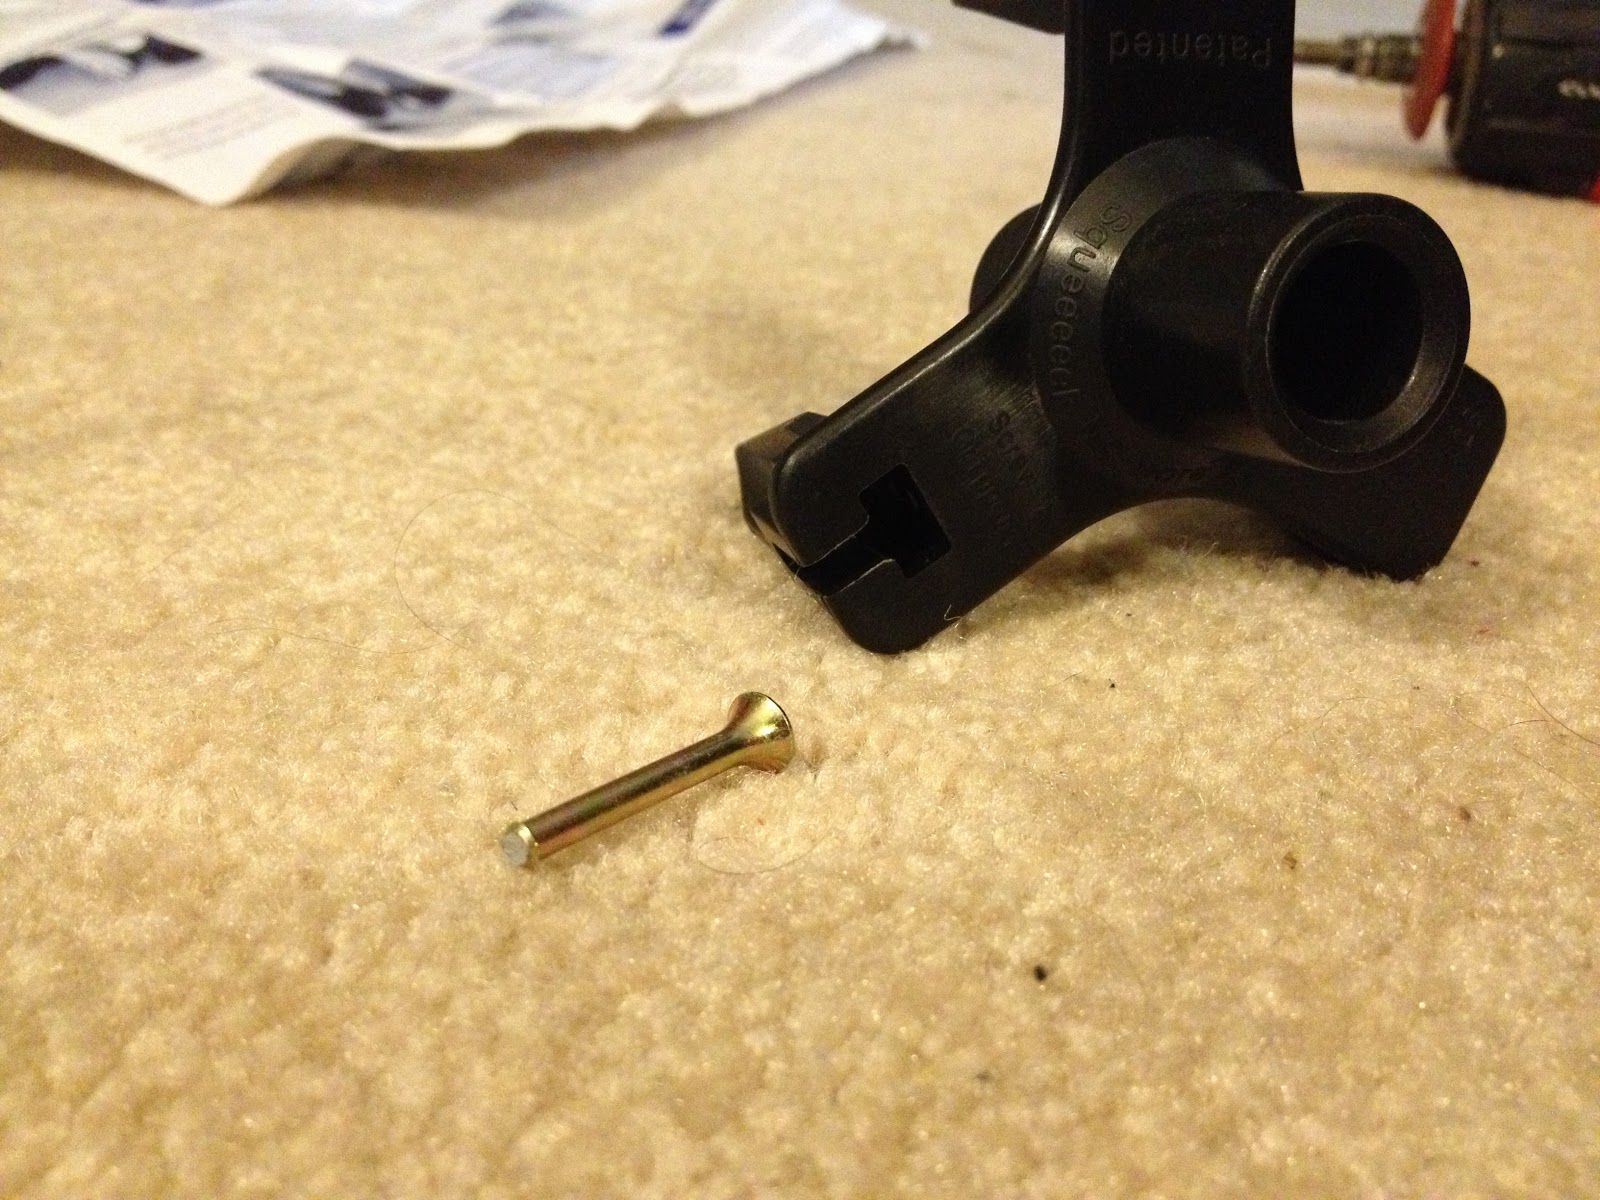
Next, we used the tripod fixture to secure the scored screws to the joists where the floor squeaked.
Note: The tripod fixture (included in the kit) ensures that the screw is set properly into the joist, below the floor line.
 |
| Drill screws into the joist. |
We left the screws sticking out above the carpet as we went. This helped us track progress. We were really interested to see that the screws formed a partial curved outline of the tray ceiling below. My investigation was right on!
Note: Be careful where you step if you leave the screws in also. They hurt when you step on one.
 |
| We left screws sticking out until we finished setting them all. |
After we set all the required screws, we used the tripod fixture to snap the heads of the screws off.
Note: The screws are designed to break below the floor line.
 |
| The tripod fixture snaps head of screw below the wood of the floor. |
The carpet is left unmarred and ready to walk on. No one will ever be able to tell where we set the screws!
 |
| No evidence of the screws on the carpet. |
The squeaks are officially silenced. Really! We used about twenty of the fifty included screws to silence the spot in front of his bed. The rest of his floor still has some small, slight creaks, but the main, crazy-making offender is silenced.
 |
| Screw heads from screws used in this project. |
It's been a few days now - we've walked all over the section of his floor and get absolutely no creak or squeak or groan. I love it! I bought extra screws, so I'll have plenty should we need them in other rooms and for other creaks. If you have squeaky or creaky carpeted floors, don't live with the headache. Silence the squeak.


No comments:
Post a Comment