 |
| Fabric Wall Hangings in basement media room. |
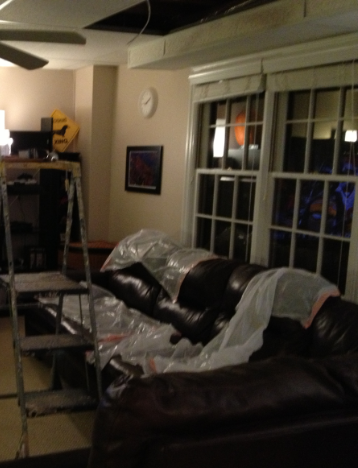
This fall, we're replacing the fluorescent light fixtures throughout the basement with recessed lighting. Having completed two rooms already, my husband moved into the TV/games room this weekend:
 |
| Installing recessed lighting led to rethinking wall art. |
After viewing the room with updated lighting, I decided the artwork on the window wall needed a refresh as well. We know we'll be painting the room eventually - I figured I'd deal with artwork then. But, a few things caused me to address the issue sooner than later:
- I've been looking for a way to tie the media side of the room to the gaming side of the room ( the dart board and three-in-one table are on the opposite side of the media room).
- I found remnant upholstery fabric (from the chair recovering project) and stretcher frames (a summer garage sale find) while reorganizing my office closet this past weekend.
- I really dislike the artwork (I use that term loosely) currently on the wall. We hung an old map of our island home on the wall when we moved in and never thought about it again.
It was decided. I would create fabric art wall hangings using remnant fabric. The project took about 45 minutes and cost me nothing - I had all the materials on hand. Keep reading to see how I did it:
Materials:
 |
| Materials needed to create fabric art wall hangings |
- Fabric - in my case, I used remnant upholstery fabric
- Stretcher Frame - mine were 12" x 24"
- Staple Gun and Staples
* 3/8 or 1/4 staples are sufficient for most fabric weights. You will need lots!
- Scissors
- Measuring Tape
General How-To:
- Measure and cut fabric so that it is about 2" larger than the dimensions of the stretcher frame.
Note: The remnant I used was a little tight on one of the frames, but I made it work.
 |
| Fabric should be about 2" wider than stretcher frame. |
- Use the staple gun to attach the fabric to the stretcher frame.
Note: Start in the middle of one side. Place a staple in the middle of the remaining three sides. As you continue to staple, alternate sides every few staples and pull fabric taut as you staple to ensure a tight fit.
- When you reach the corner, fold the fabric as you would wrap a present and staple it down.
Note: Trim off extra fabric to reduce bulk.
 |
| Stapling the corners |
- Flip the stretcher frame over and inspect your work. You want to make sure the fabric is taut and straight.
 |
| Wall hanging complete |
I repeated these steps for the second stretcher frame.
 |
| Ready to hang! |
Side Project: Remote Storage: I used some additional remnant fabric and a shoe box to make a storage bin for media remotes.
 |
| Storage bin made from old shoe box and more remnant fabric |
Hopefully, all these remotes make their way into the new bin, rather than in the cushions, under the sofa, etc. A mom can dream, right?
Finally, I gathered up my picture hanging tools and placed the wall hangings behind the sectional.
 |
| Project complete. |
 |
| Bonus: a new home for the remotes |
This project took less than one hour - including the time spent to create the wall hangings/bin and install them. And, it was zero cost. Awesome results for no money. The fabric art wall hangings look SO much better than the old artwork. And, it really does tie the two sides of the (very long) room together.
 |
| The fabric ties both sides of this long room together. |
This project makes me even more anxious to paint the walls a warmer tone! And maybe address the window covering. Isn't Thanksgiving break coming up? Hmm...


No comments:
Post a Comment