Here in Atlanta, we are officially one month into summer vacation. A few weeks ago (mid-morning during week one), my son popped his head into my office and said he wanted to "spend some
quality time with me making something". The first thought that went through my mind was, "Aww...how sweet is he?" The second thought was, "It's gonna be a l-o-n-g summer if he's already bored enough to want to spend time with his mother."
We discussed different crafts/projects we could do together and settled on a bolster pillow for his room. He'd been wanting a bolster pillow for some time now. Why? Because, as he says, "it's so comfy when I'm relaxing." And, now that it's summer vacation, he plans on lots of relaxing. We went to the store where he picked out the pillow insert and fabric (
he chose camouflage). We returned home and he helped me measure.
That's about as far as we got before a friend called - asking him to go play. The opportunity to hang out with buddies officially trumps quality time with mom. So, after dropping him off, I finished sewing the pillow and had it ready for him when he returned. Keep reading if you want to learn how to sew a bolster pillow.
How to Sew a Bolster Pillow Cover:
Materials:
- Fabric to cover pillow
- Fabric to cover piping cord
- Pillow insert -ours measured 6" x 20"
- Scissors or Rotary Cutter
- Tape Measure and Quilting Ruler
- Pins, thread, Seam ripper, Sewing gauge
- Pencil or Water Soluble Pen
- Ironing board and iron
- Piping cord (also called welt cord)
General How-To:
Part One: Measure and Cut Fabric
- Measure pillow insert.
Note: Our pillow insert was labeled 6" x 20." We measured the pillow insert and got 21" x 17". Adding a 1/2" seam allowance to each end, we determined we needed 22" x 17 1/2".
 |
| Measure to determine how much fabric is needed. |
- Cut the fabric. For the ends, we cut 7" round circles. This allows for seam allowance.
 |
| Fabric for bolster pillow cover |
 |
| Use a compass, template, plate, or large glass to cut circles. |
- Iron the wrinkles out of fabric.
Part Two: Create Piping Cord
I first created piping cord for a
window seat cover, using a video tutorial for creating continuous bias for welt cord. I repeated the steps for the bolster pillow trim, and will show you how I did it here. I only needed about one yard for this project, so using a remnant was perfect - I have plenty left over for future use.
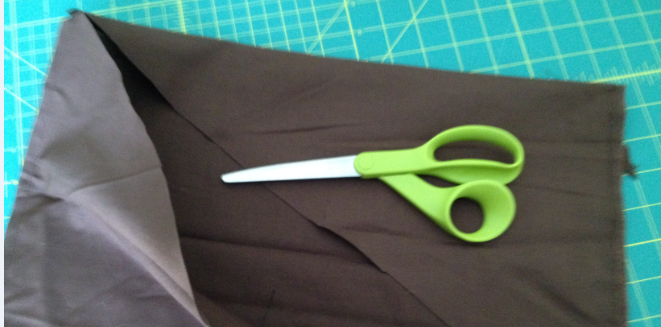
- Cut large rectangle of fabric and fold it in half.
Note: I used a piece approximately 16" x 20". When folded, it measures about 16" x 10".
 |
| Fold fabric in half and even out edges. |
- Sew the three open sides closed using straight stitch and 1/4" seam allowance.
Note: You have sewn the fabric completely shut.
 |
| White lines show where to stitch. |
- Use quilting ruler and water soluble marking pen to draw a guide line from corner to corner.
 |
| Draw a diagonal line from one corner to the other. |
- Use scissors to snip the corners (through the stitching) on the two corners.
 |
| Snip corners, through the stitching. |
- Use scissors to cut the top layer of fabric, along the guide line you drew.
Note: You now have a diagonal opening. in the fabric.
 |
| Only cut top layer of fabric! |
- Flip fabric over and, using quilting ruler and water soluble marking pen, draw a guide line between the other two corners.
- Snip corners and cut along the guide line you just drew - top layer of fabric only.Result: When opened up, the fabric now becomes a tube.
 |
| Piping Fabric - corners snipped and guide lines cut. |
- Place the fabric tube on a cutting surface.Note: At this point, you can iron out wrinkles, carefully snip any excess seam allowance to remove bulk, and even out the cut edges. I did not bother because I had limited time.
 |
| Fabric tube - straightened and ready to cut. |
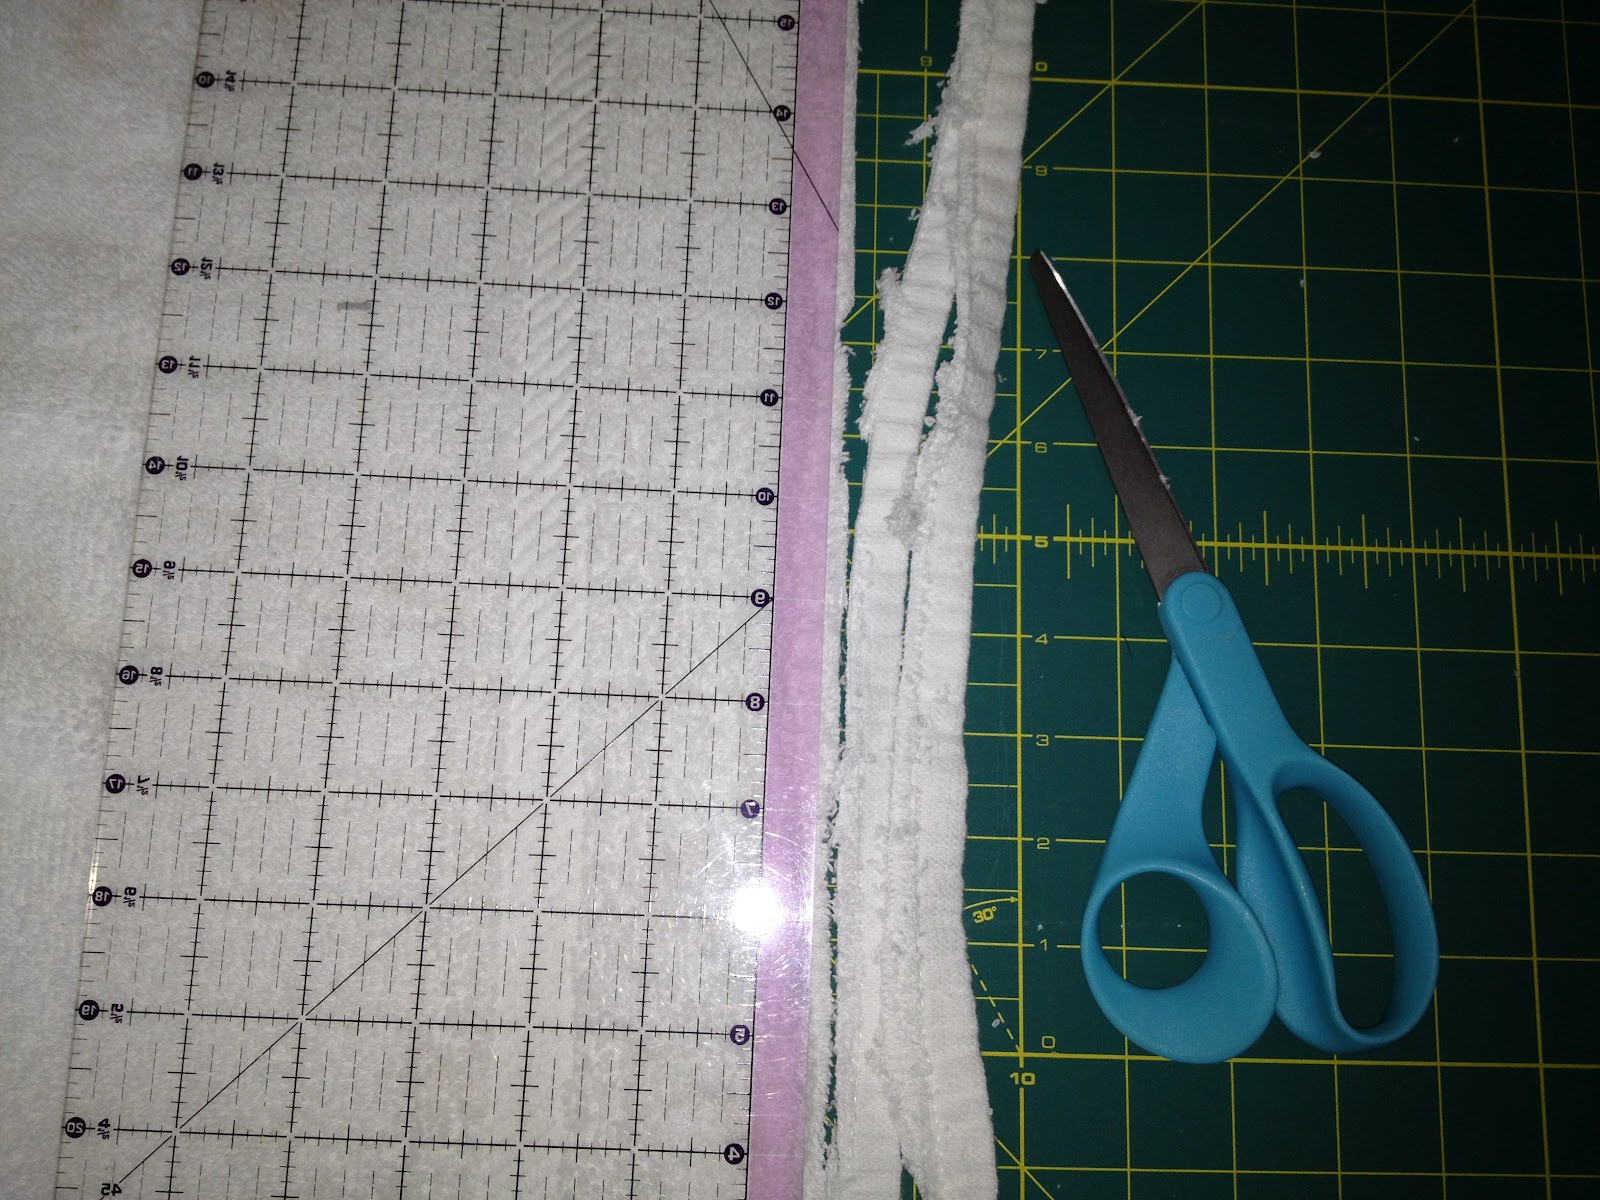
- Using the quilting ruler, draw guide lines for the strips you want to cut.
Note: I made 1 1/2" strips for this project. As a general rule, cut enough fabric to cover the cording and leave at least 1/2" lip (or flange/overlap).
 |
| Draw guide lines using quilting ruler. |
- Cut the fabric- start at the bottom and cut up to 3-4" at the top, leaving a portion of fabric uncut. Note: The fabric resembles a hula skirt at this point.
 |
| Do NOT cut all the way through - leave about 3" at the fold. |
Rearrange fabric so the uncut portion is centered on your work surface. Using the quilting ruler and water soluble pen, draw diagonal lines, starting one line in from the edge and going up/over one cut line.
Note: If you cut straight lines, you end up with tubes -
do not cut straight lines.
Example: The white lines in the picture below show how to draw the lines.
 |
| Draw diagonal guide lines on the uncut portion of fabric. |
- Cut along the guide lines.
Result: You have a large amount of continuous welt cording fabric, cut on the bias.
 |
| Cut along the diagonal lines. |
 |
| 1 1/2" fabric bias - ready for piping cord. |
- Place the piping cord onto a strip of fabric bias.Note: leave a small tail of piping cord hanging out the end.
- Sew the fabric around the cord.
.JPG) |
| Make sure fabric is evenly folded. |
- Trim excess cord and store excess fabric bias for another project.
.JPG) |
| Piping cord, ready for use. |
.JPG) |
| Excess fabric bias, rolled and ready for future use |
Part Three: Sew the Bolster Pillow Cover
- Using scissors, snip 1/4" into the flange (or lip) of the piping cord.
Note: This makes it easier to sew around the circular edge.
.JPG) |
| Snip the piping cord lip, being careful not to snip through stitches. |
- Pin piping to the right side of the fabric circle so that edges match up.
Note: Leave about 1/4"-1/2" tail at the end.
- Using a seam ripper, remove the fabric at one end of the piping you just sewed - about 1/8"- 1/4".
 |
| Open up the fabric to join the piping cords. |
- Fold the raw edge of the fabric over while you tuck the cording inside the other piece. Position the second piece of fabric over the first and close the fabric over the cord.
Note: If this is confusing, check out the steps on Prudentbaby.com's tutorial. The photos on this blog are really detailed, and explain this step much better than I can.
 |
| Ready for sewing machine. |
- Sew the piping to attach. Remove pins as you go.
 |
| Go slow and remove pins as you stitch. |
- Repeat these steps for the second fabric circle.
- Lay the fabric for the body of the bolster pillow out on a cutting surface and snip 1/4" along the short sides.
Note: This makes it easier to sew to the circular ends.
 |
| Snip along the edge of the fabric to ease attaching them to the circular ends. |
- Match up the fabric, right-sides facing, and pin into place.
 |
| Pin fabrics in place. |
- Sew fabric in place, removing pins as you go.
 |
| Go slowly as you round the curves. |
- Repeat these steps to attach the second end.
 |
| Pin and sew second end together. |
- Sew along the long opening, making sure to leave an opening at least 5" so you can insert the pillow.
 |
| Leave opening large enough to insert pillow. |
- Turn the pillow cover right side out, straightening ends as necessary.
Note: Check for any mistakes at this point and correct. (of course there are none!)
- Stuff pillow into cover and pin the closing shut.
 |
| Fold the opening seam allowances and pin shut to secure before you stitch. |
- Hand stitch the opening.
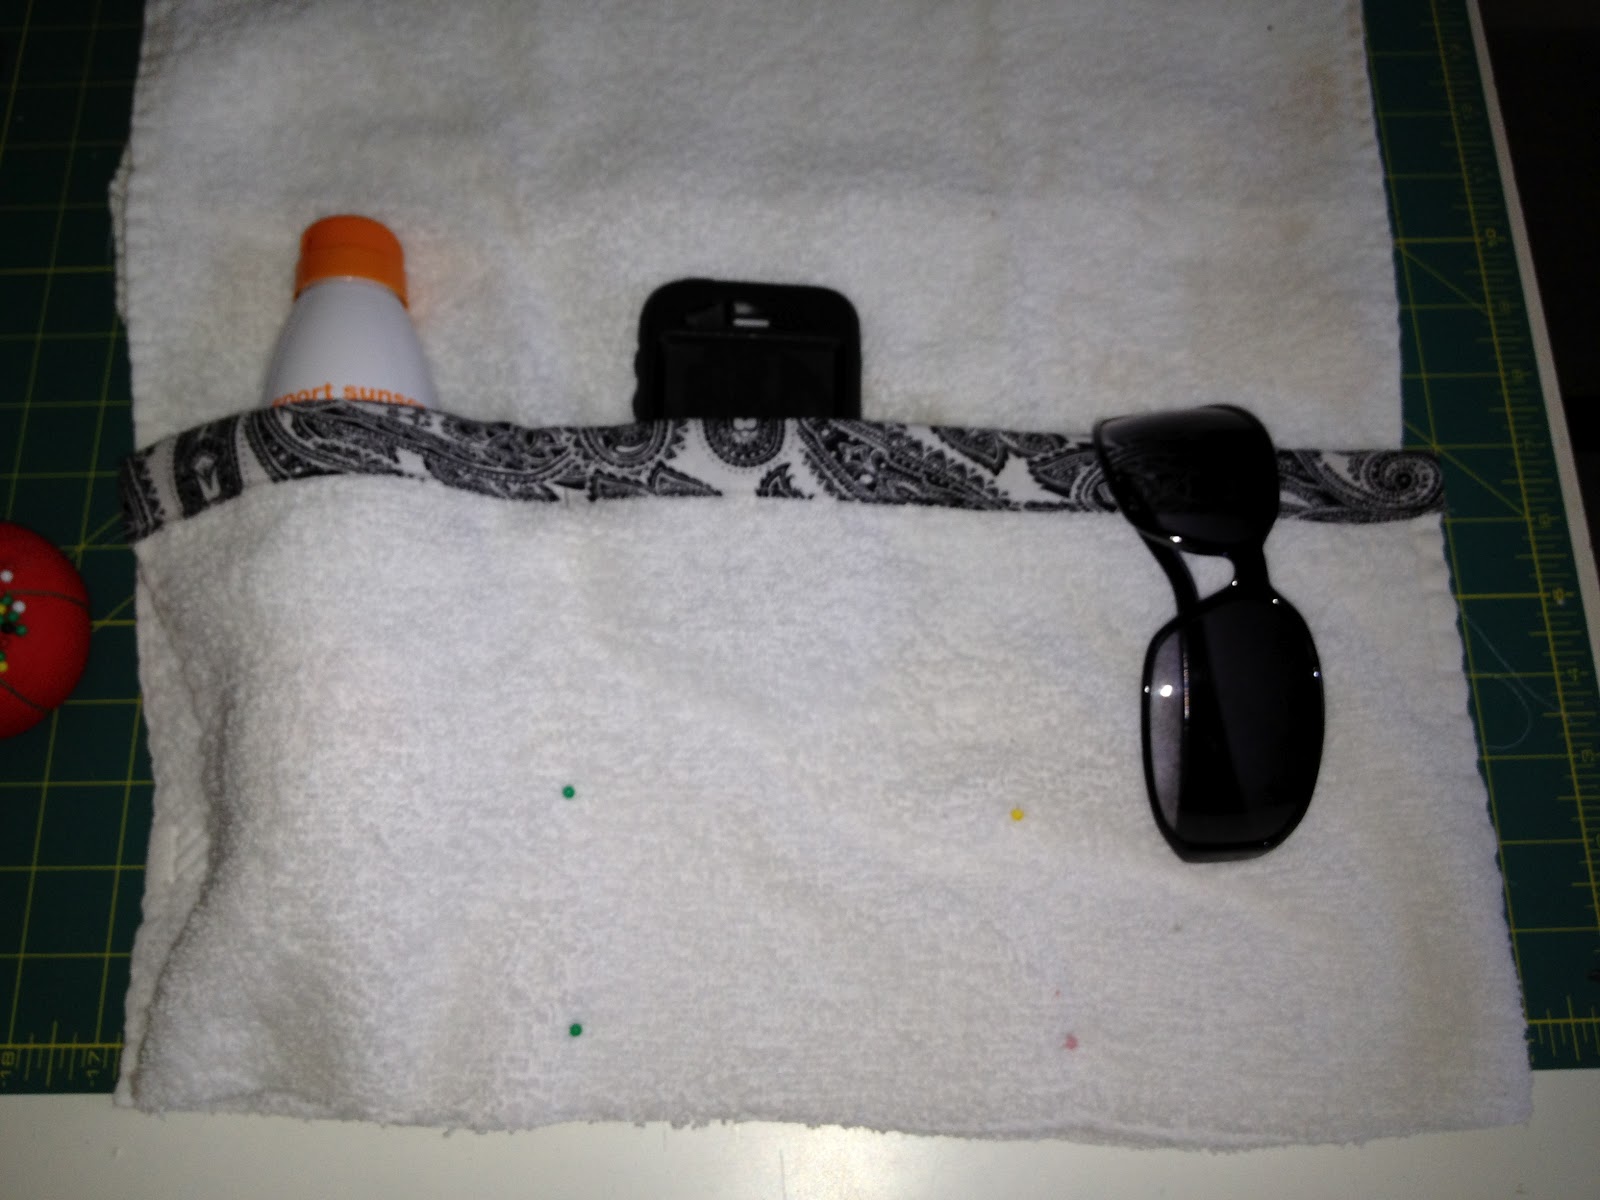
Result: You're done! Let the relaxing begin.
 |
| Completed bolster pillow |
.JPG) |
| All ready for summer relaxing! |
Another fairly easy project complete. We spent under ten dollars (for the fabric and pillow insert). The project itself took under three hours to complete. As usual, the most important thing is that my son loves his camo pillow and we productively spent time together. I've even caught him using the pillow a few times.


.JPG)


.JPG)


.JPG)
.JPG)
.JPG)
.JPG)


.JPG)