Thursday, October 18, 2012

Entryway Clutter: Seasonal Accessories

After I addressed the jacket and shoe clutter at my entryways, I turned my attention to seasonal accessories.  Until recently, we had been storing all seasonal stuff together in the closet at the garage entry.  I used old, plastic utility shelves and a combination of large plastic bins and baskets to store cleaning supplies, work rags, and seasonal gear out of sight.  It was functional, but not all all pretty.
Storage shelves used to hold all seasonal gear.
Last month, we completed the laundry room update.  I relocated many of the closet items into my new wall cabinets.  I further optimized my new storage by placing bins of off-season stuff atop the cabinets.
Off-season gear is stowed in bins above wall cabinets
Now I had a surplus of shelf space in the closet.  And, as I mentioned in my previous post, the over-the-door coat rack was no longer working for all our jackets.  I was able to ignore the closet for a couple of months or so after school started - we were not accessing swim gear or jackets!  And then, the temperature dropped.  Cooler weather forced me to act.  So, I removed the old, plastic shelving, put the coats on hangers and looked for a new storage solution for seasonal accessories.

Seasonal Accessories:
Seasonal sports/outdoor equipment and larger, bulky things are stored in our garage.  The seasonal accessories that I need to store in my entryway includes the following:

  • Cold Weather Stuff:  Hats, mittens, scarves
  • Hot Weather Stuff:  Swim suits, beach towels, bags, sunscreen, bug spray, goggles. 

Finding a Storage Solution:
I needed a storage solution that only took up half of the closet, so as to not crowd the jackets.   Becasue I could not shorten the existing plastic shelving, I placed two shelves above the existing wire mesh shelf (to extend vertical storage) and tossed the rest of the shelves in the garbage.

After taking careful measurements, I knew to look for a solution around 2' x 4' in size.    No heavy construction needed to solve this storage issue!  I ended up choosing a 6-cube organizer at a favorite store.  Once assembled, I filled it with six of my lined storage bins and topped it with a stackable plastic storage drawer.   Half of the storage  bins hold seasonal stuff.  The others hold rags, tennis towels, and pet supplies.
6-cube organizer replaces shelves.
This worked well enough, so I went about finding a new home for the beach towels.  My solution was to load them, and all the extra tote bags and backpacks into my storage bench.  This bench was emptied earlier in the week when I moved all the shoes into the shoe cabinet.
Bench serves as off-season storage for beach towels. 
Trust me, this past week felt a lot like musical chairs around here!  I switched winter gear for summer gear and lived with things this way for a few days.

After a few days, I re-evaluated the organizer placement.  I decided to give the jackets more breathing room, and allow for expansion, by flipping the organizer on its side.  The measurements showed it should fit.  But, because it was not flexible, I had to disassemble it and reassemble it in the closet.  Really?  This was not hard, but it sure was awkward.
Organizer placed, coats hung, seasonal gear switched.  Phew.
I'm so glad I took the extra effort.  Now, I have more breathing room and expansion space for additional jackets.  After replacing swimsuits and goggles and sunscreen with scarves and hats and mittens, the entryway is officially clutter-free and ready for fall and winter.
Back entryway clutter officially contained!  
Eventually, I'll sew some additional storage bin liners so they all match.  Right now, I am just happy this entryway clutter is contained!

Tuesday, October 16, 2012

Entryway Clutter: Shoes, Shoes, and More Shoes!

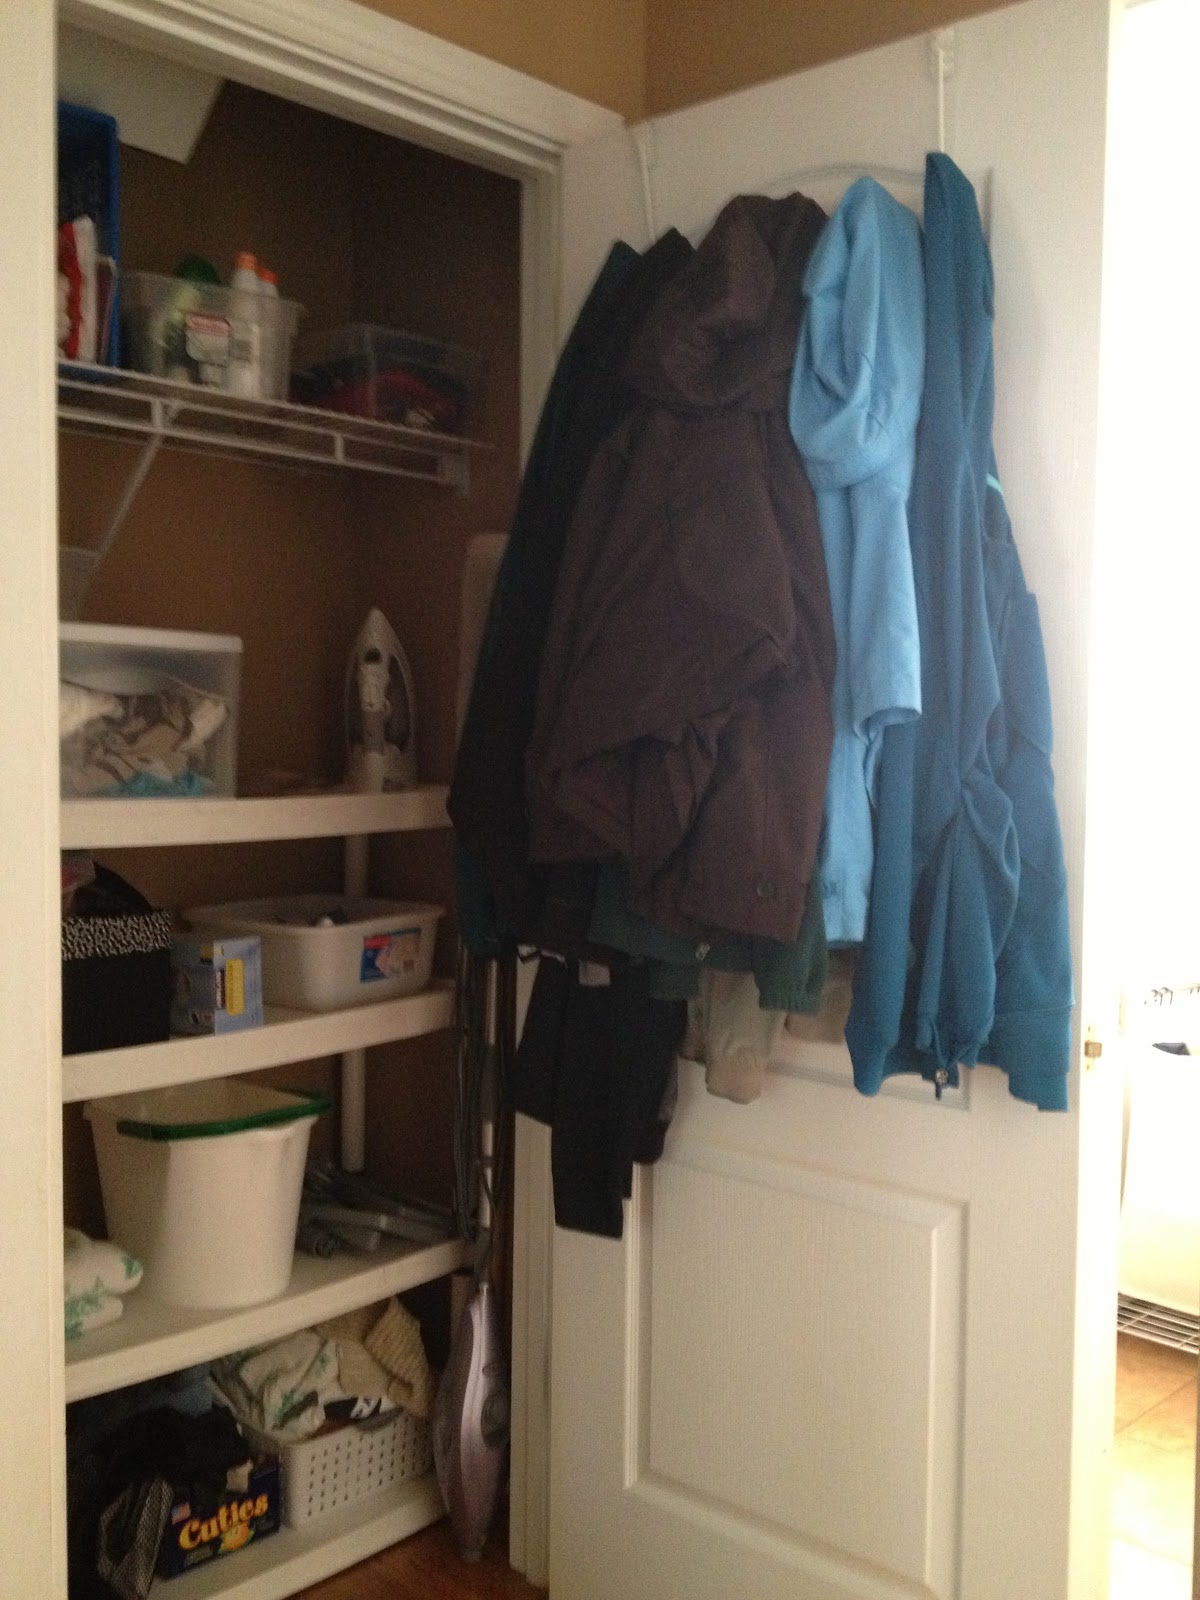
Cooler weather set me on a closet clean-up this past week.  After I tackled our jackets, I turned my attention to shoes.   As a mom, I spend far too much time thinking about shoes.  And I don't mean my shoes.  Growing kids equal growing feet.  And that leads to a growing collection of shoes, boots, sandals, etc. that still fit, fit well, and will fit soon.  And don't forget about the shoes that we love, that only mom loves, and only child loves.  All these shoes need to be stored so that no one trips over them and so that everyone can find the right pair of shoes when rushing out the door.  No problem, right?

I've got a pretty good handle on shoe storage within bedroom closets.  It's the entryways that can cause the most heartburn.  Through the years, I've used the following methods to store shoes in and around the entryways to our house(s) - with varying levels of success:
  • Shoe Baskets
  • Shoe Bench
  • Shoe Cubby Organizer
  • Shoe Rack
  • Shoe Cabinet

This past week, I reshuffled the storage options yet again to solve my current storage dilemma   Keep reading to see how I've used each storage solution, individually and in combination through the years:

Shoe Baskets:  When our first-born became a toddler, we realized we needed to toddler-proof our shoe storage in addition to everything else in the house.  We had far less time to spend locating shoes as we headed out the door.  Often, a shoe we thought we placed in one location had been carted away to another, less obvious location.  We bought large, woven baskets and placed them under our front hall bench.  The baskets were attractive, yet unobtrusive,  and kept shoes neatly out of sight of busy, curious toddlers who enjoyed toting shoes.
Felt pads on bottom of basket protect floor.
This solution worked very well for our small family and we relied on it for many years.  However, once our family grew and we moved into a new house, the number of shoes we needed to store were more than those three baskets could handle.
Baskets under a bench in entry hall contain shoes.
Shoe Bench:  We took the baskets with us to our new house, but searched for a larger space in which to store them and the growing collection of shoes.  We liked the idea of an entry hall storage bench and, ultimately, opted to re-purpose our old toy box.  
What was once a toy box...
The toy box started out as a vintage hope chest, painted a buttery yellow color, when we bought it at a flea market.  To use as a toy box, we painted it green, added a cushion to the top, and affixed wooden letters to the front.   We knew we would need to update it again to use as a shoe bench - the scalloped edge was not the look I was after.  So, we removed the scalloped trim along the bottom using a jig saw, painted it black, and added a new seat cushion.
...became an entry hall bench  that stored shoes.


Paired with the pub mirror, which had hooks for jackets, leashes, hats, etc., the bench was a fabulous solution.  Form and function at its best.

Shoe Cubby Organizer:  Although the shoe bench worked really well for the entry way, we often used the garage entrance.  A pile of shoes and sandals began infringing on the tight doorways - we needed a way to neatly store shoes there as well.   A shoe cubby organizer turned out to be the answer for us.
Shoe Cubby Organizer in laundry room/garage entry.
We set up an inexpensive (yet highly effective) cubby shoe organizer in the laundry room, near the garage entry.  Shoes, sandals, cleats, etc. were neatly organized and visible at kid level.  Perfect!

In our current house, we continue to use the cubby shoe organizer at the garage entry.  In this house, the organizer is positioned on the garage-side of the entry:
Shoe Cubby storage in garage
It is still very effective for shoes, boots, cleats, etc.  To add vertical storage to the organizer, I stacked the it on top of a coordinating shelf.  These both sit atop of my old milk crates.  However, the kids don't like to the cubby organizer now that it's in the garage - they are afraid spiders will make a home inside their shoes and bite them.  So, it's useful for their sandals and flip-flops, but not everyday kids' shoes.

Shoe Rack:  Because the kids were not using the cubby organizer, shoes began to pile up in the front hall.  While the shoes were contained to one basic area, they still created a mountain of shoes that was not the overall design statement I was going for.  My solution was to place a three-tiered shoe rack in the lower half of the front-hall closet.
Three-tiered shoe rack helps contain shoe clutter
This shoe rack was mere steps from the mountain of shoes, but it was concealed behind a door.  I loved it.  My kids did not.  I needed to come up with a new plan that worked for them.

Shoe Cabinet:  What I came up with was a shoe cabinet.  Well, really, I came up with redefining a built-in family room cabinet as a shoe cabinet.
Built-in cabinet used for shoe storage
Our shoe bench was already placed against the family room wall adjacent to the cabinet, though it no longer stores shoes.  I borrowed that 10' x 3' slice of the family room, annexed it to the utility closet/laundry room and created a pseudo mud room using all three areas.  The cleared-out lower cabinet, closest to the bench, is now the new shoe cabinet.  A mat sits in front of the cabinet to catch dirt, and the old pub mirror, placed above the bench, holds hats/visors.
Back entry and 10' x 3' slice of family room comprises my pseudo mud room.
Shoes that are not stowed in the cubby organizer on the way into the house can be stored in the shoe cabinet.  If we enter from the front door, we can stow shoes on the shoe rack in the front hall closet.

Problem solved?  for now, they appear to be in check.  Keeping on top of organization and storage is an ongoing pursuit.  As the family grows and changes, so do our organization needs. Hopefully, I've shared some tips that you can use to contain shoes in your home.  Have other ideas?  I'd love to hear them!

Check back with me and my closet clutter projects.  Now that jackets and shoes are controlled, I need to address seasonal gear storage.

Monday, October 15, 2012

Entryway Clutter: Jacket Hang-ups

It's finally cooling off in Atlanta.  And that means it's time for the sweaters, jackets, and coats. So, I set about my annual purge and purchase of kids' coats.  You know - out with the old and in with the new.  I also addressed the coat storage situation.  Sounds simple enough.  However, this turned into a full-blown reorganization project for me this week - a long over-due reorganization project.  Keep reading to see how I optimized storage in my closet and made order out of seasonal chaos.

How to Contain Coat Clutter?
Based on what we saw during our house hunt, coat closets are rare among newer homes in Atlanta.  It's as if someone thinks we don't wear coats in the south!  Trust me - we wear lots of coats in Atlanta.  You do not often see a mud room in homes down here, so we often make do and get creative with stowing stuff in various locations.  For example, many homeowners hang coats in the garage, in the basement stair landing, etc.

Closets A proper coat closet was high up on my must-have list for a new home.  I am amazed at the number of homes we viewed that lacked a proper coat closet!  I guess they assume we all want to buy an armoire or use a coat tree?  Our house not only features a front hall closet, but also a closet off the garage, adjacent to the laundry room.
A coat closet in the front hall...
And, one for the back entry.  I reorganized the closet this week.
Over-the-Door Coat Racks In addition to hangers, we also use an over-the-door coat rack in the front hall closet.  Why?  Even though we own plenty of hangers, experience has proven that my people are far more likely to hang a coat up if it's easy.  Coat racks are much easier than hangers.  Of course, hanging the coat up as one enters the house via the garage is even easier than walking all the way to the front hall.  So, I added another over-the-door coat rack to the back closet.
Over the hanger coat rack was over-used!
It got so much use last year that it began to bend from the weight of all the jackets.  And, jackets that  hung closer to the door hinge were constantly getting caught when we closed the door.  Every week or so during the winter and spring, I moved a stack of jackets to the front hall closet (properly hung on hangers, of course).  I decided not to repeat this extra work this fall, so I removed the coat rack and re-purposed it this past week.  Now, it holds brooms and bags in the closet.  Here's how I did it:
  • I asked my husband to remove the hanger part (using a hack saw): 
Removing the hanger from coat rack.
  • Then, we hung it inside the closet using small electrical cable wire clamps, nailed into the studs, to hold the rack in place.
the coat hooks are attached at the studs for stability. 
  • My steam mop, brooms, and reusable, canvas shopping bags hang from the hooks.  
Project Re purpose Coat Rack Complete!
Wall-mounted Coat Racks:  When we lived in Savannah, I hung two coat racks on the wall at the garage entry.  One for adults and one for kids.  These racks got lots of use
Two wall-mounted coat racks hung by garage door in our old house.
I initially thought the over-the-door coat rack would work for my youngest child in this house.  However, he is still a bit to short to reach.  And, because he still has trouble with hangers, I decided to hang a coat rack in the adjacent laundry room  (behind the door) for his jackets.  I also store aprons and laundry bags here. 
The rack was re purposed from the garage - it originally held rakes, shovels, etc.  I spray painted it white and attached it to the wall studs behind the door.
Coat rack in laundry room for younger child's jackets.
When door is open, only a small portion of the coat rack is visible. 
If anyone is entering the house via the basement, they can hang a jacket or hat on the wall-mounted coat rack next to that door.
Wall-mounted coat rack by basement entry
Phew.  Coat clutter has been conquered.  One week into the fall and I can honestly say the system is a success.  Check back with me and my closet clutter projects.  I came up with some good ideas for containing shoes and other seasonal footwear. 

Wednesday, October 3, 2012

Disguising an Old Intercom System: Three Ideas


I bet my home's intercom system was pretty cool when first installed over 20 years ago.  In the years since, however, technology has changed immensely.  Wireless phones, WiFi, satellite TV, and mobile devices now render this intercom system obsolete.
Our now-defunct intercom's master station
We found no user manual for the system when we took ownership of our house, and the manufacturer, Music and Sound (M&S), is out of business.  While we do use the built-in doorbell function, the radio, clock and intercom features do not work.  And, in order to hear the doorbell on the main floor, we must put up with a low-tone buzzing emitted by the system.  Argh!

I spent some time searching online and was able to locate a manual (.pdf format) of a similar model.  After hours switching switches and turning knobs, I just cannot get the intercom to work as designed.  That makes this intercom not only archaic, but also an unnecessary eyesore.

What to do?  My husband and I discussed the following options:
  • Remove the master station/room and patio speakers.  A few neighbors suggested this option.  We would need to patch the drywall and exterior walls - it's not rocket science, but it is also no small task.  We are hesitant to mess with the exterior, stucco wall repair at this time and can't bring ourselves to hire the job out.
  • Upgrade to a newer intercom system:  A few other neighbors suggested this option.  Unfortunately, we fail to see the return on investment - a replacement unit will cost over one thousand dollars.  
  • Disguise the existing master station/room and patio speakers and forget about it:  This is the least expensive option.  And, of course, my husband's favorite option. 
For now, I agreed to disguise the existing station and speakers.  I refuse to forget about alternatives, but I agree that this low-cost fix will at least remove the eyesore from my sight.  I am confident that, down the road, an opportunity for a long-term solution will present itself.   Do you have an outdated intercom speaker system also?  Keep reading to see how we managed to disguise ours.  You may get a tip or two for dealing with your eyesore.  

Disguise One:  Hide Intercom Master Station with Artwork:
Homeowners and renters have been disguising thermostats, electric panels, and such behind artwork for years.  This seemed like a great idea for the intercom master station.
Intercom master station hidden  behind artwork
The master station measures 16"x 8" x 1".  I needed a frame or shadow box that was deep enough to cover the station, but not take up a ton of space - I only have about 18" of vertical space to work with.  Unhappy with product options I found in stores and online, I decided to modify and re-purpose an existing  frame by adding depth.  One inexpensive furring strip and an hour of our time was all it took to complete the project.  Read below to see what steps we took to modify an existing frame in order to disguise the intercom master station:

Materials:
  • Frame larger than item to be disguised.  
  • Furring strip
  • Measuring tape and level
  • Miter saw
  • Finishing nails and hammer
  • Artwork
  • Caulk and paint
General How-To:

  • Locate a frame that is slightly larger than item to be disguised.
    Note:  We used an old frame that measured about 17" x 13" x 1/2".  Seems an odd size, eh?  I think it was meant for certificates.  I bought the frame, originally washed in a pale blue color, on clearance years ago and.  It hung in the office at our old house.  Since the move, it's been sitting in a closet.  Time to re purpose. 
Frame hung in our old house, but's been in storage since the move.
  • Measure furring strip to form a slightly larger frame around the existing frame.
Picture frame molding sit on top of the furring strip.
  • Cut furring strip, using miter saw, to create 45-degree angles.  
  • Verify cuts and attach furring strip using finishing nails.
    Note:  you can also use construction adhesive.
  • Sand, caulk joints and paint the entire frame.
Back of frame shows how furring strip is attached.
  • Place art inside frame and hang.
    Note:  We added hanging hardware, but found we did not need it.  The frame simply rests on top of the master station.  When we need access, we lift the frame away and do whatever we need to do.
    Result:  Eyesore disguised!
Eyesore disguised.
What an easy, and low-cost, disguise.  I almost forget that the master station is even in the room.  Now, to tackle the patio speaker. 

Disguise Two:  Hide Patio Speaker with Outdoor Clock:
The patio speaker sits on a narrow exterior wall, near our Big Green Egg.  It's visible from all spots on the deck.  Because the speaker does not work, I wanted it out of sight. 
Patio speaker is disguised behind a clock.
Inspiration came in the form of our old outdoor clock/thermometer, which was still in a box waiting to be hung.  Unlike the intercom speaker, the clock serves a function, and would be very useful on the back deck.  We pulled it out of storage, placed it over the speaker, and agreed it would make a great disguise the for the speaker.  We dug out some fishing line and strung it through the back of the clock.  
Fishing line tied to the back of outdoor clock.
Then, we strung the fishing line through the light fixture above and tied it off.  Perfect!
Eyesore disguised!
Not only is the speaker disguised, but we also avoided putting any additional holes in the stucco wall.

Disguise Three:  Hide Room Speaker with Paint:
One of the room speakers sits just above the basement bar backsplash.  We are able to hear the doorbell chime through the speaker, so we don't mind having it around.  The plastic case, however, yellowed over the years and the intercom feature does not work.  No sense in drawing attention to it.  We decided to disguise it. 
Room speaker is disguised with paint.
This past weekend, my husband painted the walls in this room.  As he prepped the walls, he removed the speaker from the wall.
We removed the room speaker and bracket before painting the wall.
Then, he cleaned the speaker and applied two coats of the wall color, Wheat Bread, by Behr.  
Room speaker dries after second coat of paint.
After the paint was dry, he reattached the speaker to the wall.  
Eyesore Disguised!
Now, the speaker is accessible, but blends in with the wall.  Hooray.
  
There you have it:  Three easy ideas for disguising an old intercom system.  If these things ever become retro-cool, we are all set.  Until then, they are out of sight, and out of mind!  

Tuesday, October 2, 2012

Build an Inground Backyard Fire Pit

Our fire pit
I love a good campfire.  I love the sound and smell of the crackling wood, the feel at the border of cold and warm that defines a fire pit's circle of warmth,  the rainbow of colors in the flames.   It's all good.
As a child, I enjoyed camp fires during family camping trips.  Back then, a camp fire meant roasting hot dogs, marshmallows and HOBO pies.  During my late-teen and early twenties, camp fires were standard fare at field parties or football game pep rallies.  It was not until I met my husband that I ever thought of actually owning a fire pit, let alone building my own.  I've owned three types through the years.  Most recently, we built our own inground fire pit.  Keep reading to learn more and pick up a few tips if you decide to build your own fire pit as well.

An Outdoor Fireplace:  When our kids were young, we signed a one-year lease on a tiny, rustic cabin in the GA mountains.  It served as our weekend getaway - a place to introduce our kids to nature, the seasons, and the joys of the outdoors.  This is when we purchased our first fire pit - a portable outdoor fireplace:
We used a portable outdoor fireplace in front of our cabin.
This fireplace came in very handy throughout the winter months - it gets really cold up in the north GA mountains, and that cabin was rustic - not at all insulated.  Our portable outdoor fireplace was ideal for our situation because it not only contained the fire in a well-ventilated (yet enclosed) area, but it also protected our curious little ones from burns.  We could start up a fire in no time, enjoy roasting marshmallows, etc. and still easily and quickly put the fire out when it was time to go in for bed.

Semi-Portable Fire Pit:  When we moved to the coast, we bought an outdoor fire pit for our backyard.  Sometimes called an outdoor fire bowl, the outdoor fire pit kept flames contained, but had a much more open feeling.  The circumference of our fire bowl was much larger than the smaller fireplace we used previously, which meant more people could gather around and enjoy the ambiance.
Backyard fire bowl in Savannah
Savannah weather is nowhere near as chilly in the winter as north GA, but the fire pit still got a ton of  use.  For the three-four weeks of winter-like temperatures, the fire pit was useful for keeping warm while outside.  Other times of the year, the fire pit was ideal for keeping the bugs away - gnats and mosquitoes hate the fire.  So, if we wanted to enjoy a bug-free evening in our backyard, we built a fire in the pit.  Form and function at its best.

Inground Fire Pit:  When we moved back to north GA, we were happy to learn that our new backyard had an area already defined for a fire pit - the previous owners used the are for their chiminea.
Area defined  for a Fire Pit
We decided to build our own fire pit this time around - to blend with the natural backyard setting.  We knew finding rocks would be no problem.  Why?  Anyone who has ever tried to dig a hole in Atlanta soil knows that it is full of granite rocks.  And, if you drive near any new construction site (roads, neighborhoods), crews often allow you to haul the unearthed rocks away for free.  Lucky for us, a new intersection was going in near our neighborhood and my husband was able to acquire enough rocks for our fire pit - free of charge!  We purchased a couple bags of Quickrete and set to work.  The project was completed in a few hours and, while somewhat messy, was super easy to complete.

How to build a Backyard Fire Pit:
There are several online tutorials for building above-ground and inground fire pits.  We reviewed several to be sure we did not miss anything important.  I'll give you the highlights here:
  • Determine fire pit location:  Our backyard already had a designated area, away from the house, where the previous homeowners used their chiminea.  We knew this would be our fire pit location, so we simply trimmed the surrounding trees to ensure that no open flame or sparks would reach low-hanging branches.  We opted to place the fire pit at opposite end of the designated area as well - for better flow.
Choose location.
  • Determine fire pit dimensions:  When we retired our SAV fire pit, we kept the cover and grate for future use.  We used the cover to determine the size of our inground fire pit.  My husband dry fit some rocks to make sure the dimensions were what we wanted, and to determine which rocks would be the top layer:
Dry fit rocks around re purposed fire pit cover.
  • Prepare the Ground:  We dug down approximately one foot into the ground.  Then, we placed a layer of gravel and the old fire pit's grate to provide proper drainage.  
Dig at least 12-inches into the ground.
  • Set the Rocks:  We were aiming for a naturalized look.  We opted to leave the rocks as is - all covered in GA clay - and set them using Quickcrete.  The ground slopes slightly at the site of the fire pit, so we built up the far side by one or two rows to make the top appear even.  And, we ensured that the entire structure was level.
Build up height and maintain level.
Allow Structure to Cure:  We allowed the fire pit to cure for a few days before  its inauguration.
Starting a fire with kindling and pine cones.
Build a Campfire:  Then, we just gathered some kindling and logs, a barbeque lighter and enjoyed a beautiful backyard campfire.
Inaugural fire - Perfect!
Our wooded lot provides lots of kindling and logs, and we keep a container of pine cones nearby.  If I sense we're getting low, I simply get the kids involved - a penny per pine cone makes us all happy.
Firewood and kindling collected from the yard
Does it get any easier?  A natural-looking in ground fire pit completed in just a couple hours.  We've been using the fire pit for just over a year now and love it!  While it is not the north GA mountains, the crackling wood and smell of a campfire brings the memories right back.