Showing posts with label shelving. Show all posts

Thursday, October 18, 2012

Entryway Clutter: Seasonal Accessories

After I addressed the jacket and shoe clutter at my entryways, I turned my attention to seasonal accessories.  Until recently, we had been storing 
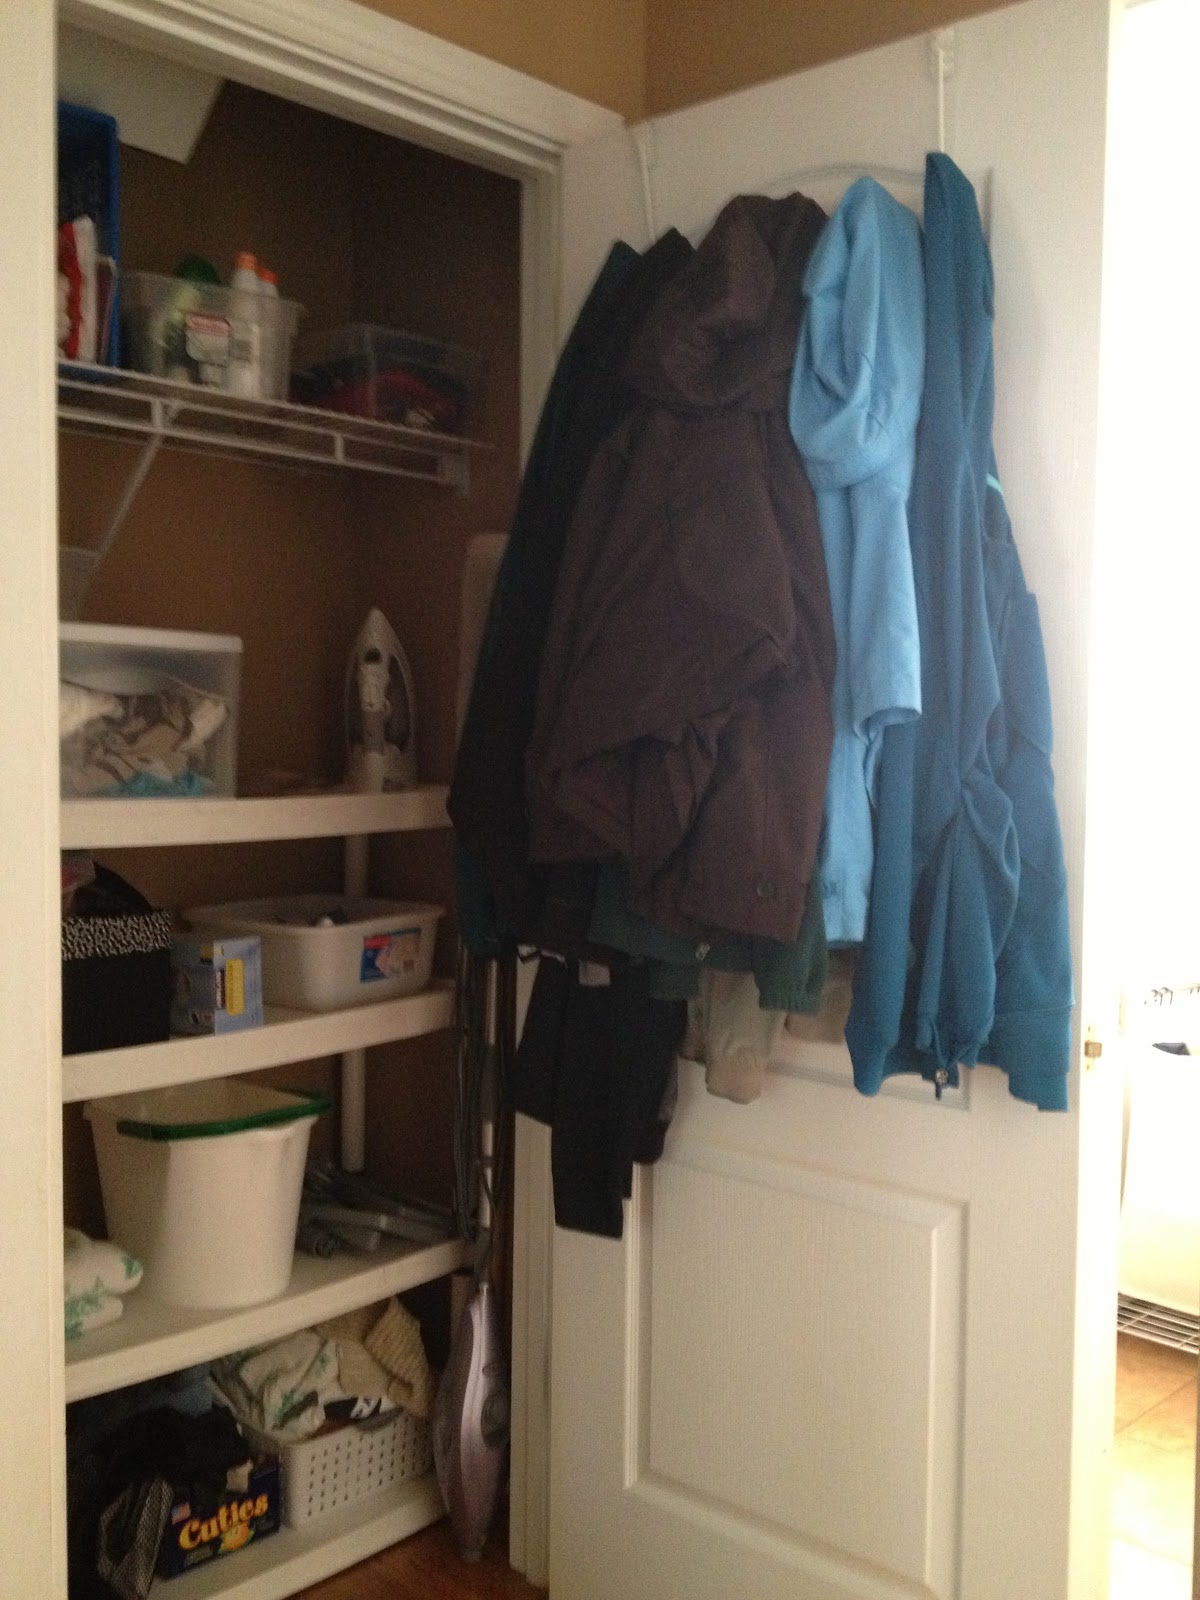
all seasonal stuff together in the closet at the garage entry.  I used old, plastic utility shelves and a combination of large plastic bins and baskets to store cleaning supplies, work rags, and seasonal gear out of sight.  It was functional, but not all all pretty.
Storage shelves used to hold all seasonal gear.
Last month, we completed the laundry room update.  I relocated many of the closet items into my new wall cabinets.  I further optimized my new storage by placing bins of off-season stuff atop the cabinets.
Off-season gear is stowed in bins above wall cabinets
Now I had a surplus of shelf space in the closet.  And, as I mentioned in my previous post, the over-the-door coat rack was no longer working for all our jackets.  I was able to ignore the closet for a couple of months or so after school started - we were not accessing swim gear or jackets!  And then, the temperature dropped.  Cooler weather forced me to act.  So, I removed the old, plastic shelving, put the coats on hangers and looked for a new storage solution for seasonal accessories.

Seasonal Accessories:
Seasonal sports/outdoor equipment and larger, bulky things are stored in our garage.  The seasonal accessories that I need to store in my entryway includes the following:

  • Cold Weather Stuff:  Hats, mittens, scarves
  • Hot Weather Stuff:  Swim suits, beach towels, bags, sunscreen, bug spray, goggles. 

Finding a Storage Solution:
I needed a storage solution that only took up half of the closet, so as to not crowd the jackets.   Becasue I could not shorten the existing plastic shelving, I placed two shelves above the existing wire mesh shelf (to extend vertical storage) and tossed the rest of the shelves in the garbage.

After taking careful measurements, I knew to look for a solution around 2' x 4' in size.    No heavy construction needed to solve this storage issue!  I ended up choosing a 6-cube organizer at a favorite store.  Once assembled, I filled it with six of my lined storage bins and topped it with a stackable plastic storage drawer.   Half of the storage  bins hold seasonal stuff.  The others hold rags, tennis towels, and pet supplies.
6-cube organizer replaces shelves.
This worked well enough, so I went about finding a new home for the beach towels.  My solution was to load them, and all the extra tote bags and backpacks into my storage bench.  This bench was emptied earlier in the week when I moved all the shoes into the shoe cabinet.
Bench serves as off-season storage for beach towels. 
Trust me, this past week felt a lot like musical chairs around here!  I switched winter gear for summer gear and lived with things this way for a few days.

After a few days, I re-evaluated the organizer placement.  I decided to give the jackets more breathing room, and allow for expansion, by flipping the organizer on its side.  The measurements showed it should fit.  But, because it was not flexible, I had to disassemble it and reassemble it in the closet.  Really?  This was not hard, but it sure was awkward.
Organizer placed, coats hung, seasonal gear switched.  Phew.
I'm so glad I took the extra effort.  Now, I have more breathing room and expansion space for additional jackets.  After replacing swimsuits and goggles and sunscreen with scarves and hats and mittens, the entryway is officially clutter-free and ready for fall and winter.
Back entryway clutter officially contained!  
Eventually, I'll sew some additional storage bin liners so they all match.  Right now, I am just happy this entryway clutter is contained!

Monday, September 17, 2012

Laundry Room Update: Bye-Bye, Wire Mesh Shelves!

Phase Two:  Wall-mounted Cabinets replace Wire-Mesh Shelving
This post discusses the second phase of our laundry room update:  Installing wall-mounted storage cabinets.  In the first phase, we installed a new countertop and laundry room sink.

We took a day or two to breathe after installing the sink.  But then, with laundry waiting to be done, we discussed the location of my wall-mounted drying rack.  My husband was never happy with it's previous location, adjacent to the sink.  When the rack is in use, clothes hang directly over the side of the sink (in your face) - not ideal.
The laundry room is not a huge space - the obvious choice for the drying rack was the wall behind the washer and dryer.  The wall with the wire mesh shelf I've hated since we moved in.
I am not a fan of wire mesh, though I tolerate it when installed in closets - behind closed doors.  The wire mesh in my laundry room consisted of a single, six-foot wall-mounted shelf and two wall-mounted bins.   I've been so frustrated with it that I never fully used it.  The shelf extends into the front of the window, items slip through the mesh, and (most importantly) I cannot stand to look at the stuff being stored there.
Under-utilized wall.
To me, that wall was just screaming out for an update.  And, that meant it was time to change it!
Taking another cue from our Savannah laundry room, we decided to switch out the wire mesh shelving with a combination of closed cupboard storage and my hanging rack.  My husband also suggested adding an over-washer/dryer shelf.  This type of shelf disguises the hoses and cords behind the washer and is a great place to keep the dust-buster, small bins, etc.
Our inspiration:  Storage and shelf we built in our old laundry room
Wall-mounted Storage Cabinets

Selecting Cabinets
The first thing we needed to do was decide which cabinets to install.  We got to work researching the following cabinet options:
  • Budget:  We knew we'd go with stock cabinetry.  It's a laundry room, after all. And stock is usually cheaper than custom.  It's certainly more convenient and quicker to acquire. 
  • Color:  White was the obvious choice - I like a clean, crisp look in my laundry rooms.  Plus, white is readily available and usually cheaper than the darker wood tones.
  • Cabinet Size:  I liked the symmetry of two cabinets flanking my drying rack.  Because the wall measures six-feet across and my drying rack is just under 24-inches wide, we needed to choose two, 24-inch wall cabinets.  We found 24-inch, pre-assembled wall cabinets at one store (in the Kitchen Cabinet department) and 24-inch, un-assembled at another store (in the Cleaning/Organization department). 
  • Cabinet Doors:  Prices are comparable among stock cabinets. The main difference is with the cabinet door dimensions.  Kitchen cabinets feature a single, 24-inch door.  The laundry cabinets have two, 12-inch doors.  
  • Door Hardware:  Kitchen cabinets do not come with door hardware.  The laundry cabinets do.  Since the hardware was already in a nickel finish, we save a few bucks by choosing the laundry cabinets.  
Our cabinet choice
Narrowing down the features we wanted before shopping made the buying process easy.  We bought two,  Estate Storage System 24-inch wall cabinets and assembled them at home.  Assembly took about 30 minutes. 

Prepping the Wall
The next morning, we prepped the wall and got ready to install.   First, we first removed the wire mesh shelving:
They painted around the brackets.  Really?
Then we used Spackle to patch the holes left over from the shelving brackets:
Spackle the holes 
Installing the Cabinets
We consulted the Internet to determine how high we needed to install the cabinet - eHow's post was very helpful.  In the end, we decided to mount the cabinets so that the bottom was just below the upper line of spackle marks.  Very scientific method, ain't it?  I wanted to hide the spots, and this worked out to be a good height.
The cabinets we chose are installed using cleats, which were included in the packaging.  My husband followed the manufacturer's instructions.  After determining the stud placement behind the drywall (using a stud finder), we used both screws and wall anchors to attach the cleat to the wall.  Then, we dry fit the cabinet to verify plumb and level:
Verifying the cabinet is plumb and level before securing to the wall.
Everything looked good, so we secured the cabinet box.  Of course, because nothing can be super easy, the first pilot hole went into the metal drywall strapping.  We needed to drill new pilot holes, just below the first and use a combination of dry-wall anchors and screws (because of the stud placement).  
Combination of screws used to adhere cabinet to the wall.
Once that cabinet was installed, we attached the doors, drew a level line across the wall for the second cabinet and repeated the install process:
Mark level on both walls when installing a cabinet in the corner.
First cabinet installed, second one in process.
Then, we hung the drying rack between the cabinets:
Cabinets and Drying Rack installed.

It looks SO much nicer already!  The cabinets have two adjustable shelves inside.  I loaded in my supplies and still had room to spare.  Then, I got busy catching up with laundry.  Check back with me - my next post will explain how we jazzed up the wall with an over-washer/dryer shelf for even more storage.