Showing posts with label decorate. Show all posts

Friday, July 27, 2012

Updating Drapes - It's the Little Things

Before and After
It's the little things in life that can make the biggest difference.  Take, for example, my dining room curtains.  Or drapes, or window coverings.  Or whatever!  
Do you know the difference between a curtain and a drape?  I did not know until this past week.  I've interchanged the terms for years until I read this online article.  Based on the definitions it provides, I have drapes.  Who knew?

Update One: Rope Trim Tieback
When we moved into our house, two single drapery panels hung from a wooden rod and seemed 'sparse' and slightly unfinished.  I added a simple, cream colored rope trim to each drapery panel (previously used in my SAV house) as a tieback soon after we moved in.  I assumed I would change out the drapes someday and did not really put much additional thought into the matter.  After all, we do not really spend much time in the formal dining room.  
Re-purposed rope trim tiebacks are held in place with cup hooks. 
Update Two:  Lengthen with Drapery Clip Rings
The rope trim tiebacks helped.  Still, every time I walked through the dining room, I thought, "Those things are just a bit too short against the white wall."  That thought became a little tic in my brain every single time I saw the drapes.    So, the next improvement I made was to bring the length of the drapes down a couple of inches using drapery clip rings.  The drapes now brush the floor so the white wall paint no longer shows.  What a huge difference that one little (and inexpensive) alteration made!
Adding clip rings lengthened panels - they now barely brush the floor.
Update Three:  Sew Coordinating Fabric Tiebacks (Tutorial follows)
When I updated the wall art in my dining room a couple weeks ago, the draperies once again caught my critical eye. The tones of the drapery fabric did not contrast enough with the wall's paint color, making it look bland.  So, I began scouring the Internet for ideas on how to add some visual contrast.  Houzz and Pinterest are currently my favorite sites for inspiration.  Along with real estate sites, such as Zillow and Realtor.

Ultimately, I decided that I loved the graphic, black-and-white pattern of my wall art fabric so much, I wanted to incorporate the pattern onto the window wall.  Looking at the tablecloth's packaging material sealed the deal for me.   It looked just like a tieback.  Holding it up to the draperies, I knew it would work.
Tablecloth packaging looks just like a drapery tieback! 
I decided to use what was left of my fabric napkins to make drapery tie-backs.  This quick project would not only carry the graphic black-and-white pattern to another wall in the room, but it would also jazz up my otherwise boring drapes. 
Curtain tie-back before and after
Many tutorials exist online for learning how to make drapery tiebacks.  An obvious tutorial I checked was eHow.com.  While browsing Pinterest, I found another great tutorial on the  blogger, Homemade Ginger's, site.

As usual, I read through several tutorials and watched a few videos before coming up with my own method of creating the tiebacks.  This was a re-purposing project that used up scrap material.  Luckily I had enough fabric scrap from my wall art project to create two tiebacks.  I did not need to purchase additional napkins.  If you are considering using scrap material as well, read this link to learn more about industry standards on tieback lengths. 
Now, keep reading to see how I made my simple tiebacks:

Materials:

  • Fabric - in my case I used the remaining 6" x 20" fabric from the napkins used for wall art.
  • Iron and ironing board
  • Pencil
  • Tape Measure or quilting ruler
  • Scissors or Rotary Cutter
  • sewing machine and supplies
General How-To:

  • Measure and cut fabric to length.  Iron to remove any wrinkles.
    Note:  I started with an L-shaped piece of scrap fabric.  I cut it at the corner using a 45-degree angle and then sewed the pieces together on the bias to create a long rectangle approximately 6" x 38."  Yes, I left the original hem - I did not want to waste any width.  

Fabric scraps joined to create proper length.

  • Match the fabric, right-sides together, and pin into place.  
  • Sew fabric in place, along two sides, removing pins as you go.
    Note:  Leave one short side open.

Sew fabric to form a long tube.

  • Turn fabric right-side out, straightening as necessary.
  • Use scrap material to create a loop for the drapery tieback.
    Note:  You can also use an elastic hairband, plastic ring, small length of ribbon, etc.  I cut a small piece off the end of each tieback and sewed it into a loop for a more uniform look.  Truly, this project used every last bit of the original napkins! 

Sew loops for tieback using scrap fabric.

  • Iron each fabric tube flat, folding the open end in about 1/2" and inserting one of the small fabric loops.  Pin into place.

Insert the loop into the open end of tieback.

  • Top stitch around the entire tieback, closing the open end and securing the loop.  Remove pins as you go.
    Note:  Because I only made one loop per tieback, I folded each tieback in half and sewed it together at the short end to create a large loop.  An alternative method would be to sew the open end closed and then sandwich the loop between the two short ends and stitch to secure.  Or, to create two loops per tie back.   My method worked pretty well for a first attempt.

Attach loops to tiebacks

  • Install the tiebacks and your'e done!  Stand back and reflect on how a little (and zero-cost) thing can make such a big difference.
Draperies with newly installed tiebacks
Drapery tiebacks coordinate with the wall art.


I like this tieback look so much more than the previous rope trim.  The project took about one hour and cost zero dollars.  Very simple to do, and priced right.  If and when we opt for update or new draperies, I will not hesitate to make a new set of tiebacks using the skills I just learned.    It's the little things...

Monday, May 21, 2012

Decorating with Sea Shells


I live in the South, just a few hours from the coast, and have spent many an hour walking beaches to collect shells.  I have come to learn that every beach has its own, unique personality.  The shells, coral, etc. that I see at each one are just as unique. During one of my first trips to St. George Island, FL, just after a red tide came through, we found thousand upon thousand Olive shells and Whelk shells, Calico crabs and Sand Dollars scattered all over the place.  I keep the shells from that trip displayed around my house, and I smile every time I look at them.  Not only because they are beautiful, but because they remind me of how it seemed someone had scattered the most perfect shells on the white beaches just for us.

I've read that one's house should always include elements of nature.  This post discusses a few inexpensive, creative ways I've displayed nature, in the form of sea shells, to enhance my spaces.

First, A Note about Cleaning Shells
Most of the shells I pick up on the beach are empty, fragmented and free of algae, critters, etc.  Sometimes, inhabitants are still living inside - I leave those on the beach.  If staying somewhere with a heat source and large pot,  I usually just boil my shells for a few minutes and lay them out to dry on plates or towels.  This gets rid of the sand too.  This web site offers great tips for cleaning sea shells, including freezing the shells, microwaving shells, and creating a 50-50 solution of beach and water.  Any method works well, and keeps you from travelling home with stinky shells.

Three days of shells drying after being boiled
Display Shell Collections in Vases or on Platters and Dishes
Mason jars, clear vases, and interesting glassware are all great vessels in which to display shells.  I usually keep shells separated by trip.  A platter of assorted shells sits in my entryway and shows off the more unique, favorite shells we've collected.  I added colored and opalescent beads to the platter to add a bit of sparkle.
An antique Mason jar holds shells on my mantel.
A shallow glass bowl contains shells collected from a specific trip

Glass beads add a bit of sparkle to this collection, which sits in the entry hall.

Sand Dollar Art
Who does not love Sand Dollars?   Finding full Sand Dollars is, to me, a real treasure.  When we lived in Savannah, Sand Dollars were all over Wassaw Island, our nearest beach.  However, they were usually alive (it's against the law to take live sea life) and, therefore, not available for the taking.

Sand Dollars are glued to a frame covered in brown micro suede.
I had been keeping the Sand Dollars from my first trip to St. George Island wrapped in tissue paper in a box after a recent move.  While hunting around for something to display on an empty bookshelf, I rediscovered them, and a broken frame (the glass broke months prior).  A little more digging brought me to the remnant fabric.  Read below to learn how I took these items and created my Sand Dollar Art:

Materials:
  • Four Sand Dollars
  • Frame whose glass broke
  • Piece of cardboard cut to fit in the frame.  (Mine is an 8" x 10" frame).
  • Fabric of your choice
  • Hot glue gun

General How To:
  • Clean the Sand Dollars or shells.
  • Cut a piece of fabric a 1/2" larger than your cardboard on each side (the piece I used was approximately 9" x 11").
  • Lay the fabric wrong-side down and place the cardboard on top.  
  • Wrap the fabric around the cardboard and adhere using the hot glue gun.
  •  Flip the cardboard over, arrange the sand dollars and adhere using a hot glue gun.
  • Carefully place the frame around your completed art and enjoy.


Sea Shell Shadow Box Art:
Another beach treasure trove is when I find both halves of a clam, mussel, etc. washed up and still attached at the joint.  A trip to Hilton Head Island, SC beaches yielded several small, full clam shells.  I created a simple piece of art using these shells.   
Sea Shell Shadow Boxes

Read below to learn how I made my Seashell shadow Box art:

Materials:
Find the shadow box at most any craft store
  • Sea shells 
  • Unfinished, wooden shadow box
  • White spray paint or craft paint
  • Bamboo place mat
  • Scissors
  • Hot glue gun
General How To:
  • Remove the back of the shadow box and apply two coats of white spray paint or white craft paint.
    Note:  I used spray paint because it was quicker.
  • Cut a bamboo place mat to fit the back panel of the shadow box.
  • Use hot glue gun to adhere the place mat to the back panel of the shadow box.
  • Position shells on the place mat and use hot glue gun to adhere.
    Note:  One of my clams came unhinged during this process.  I simply dotted glue on the joint and held it until it dried.
  • Carefully replace the back panel and close the shadow box.
  • Hang on wall or place on shelf and enjoy.

Sea Shell Pins:

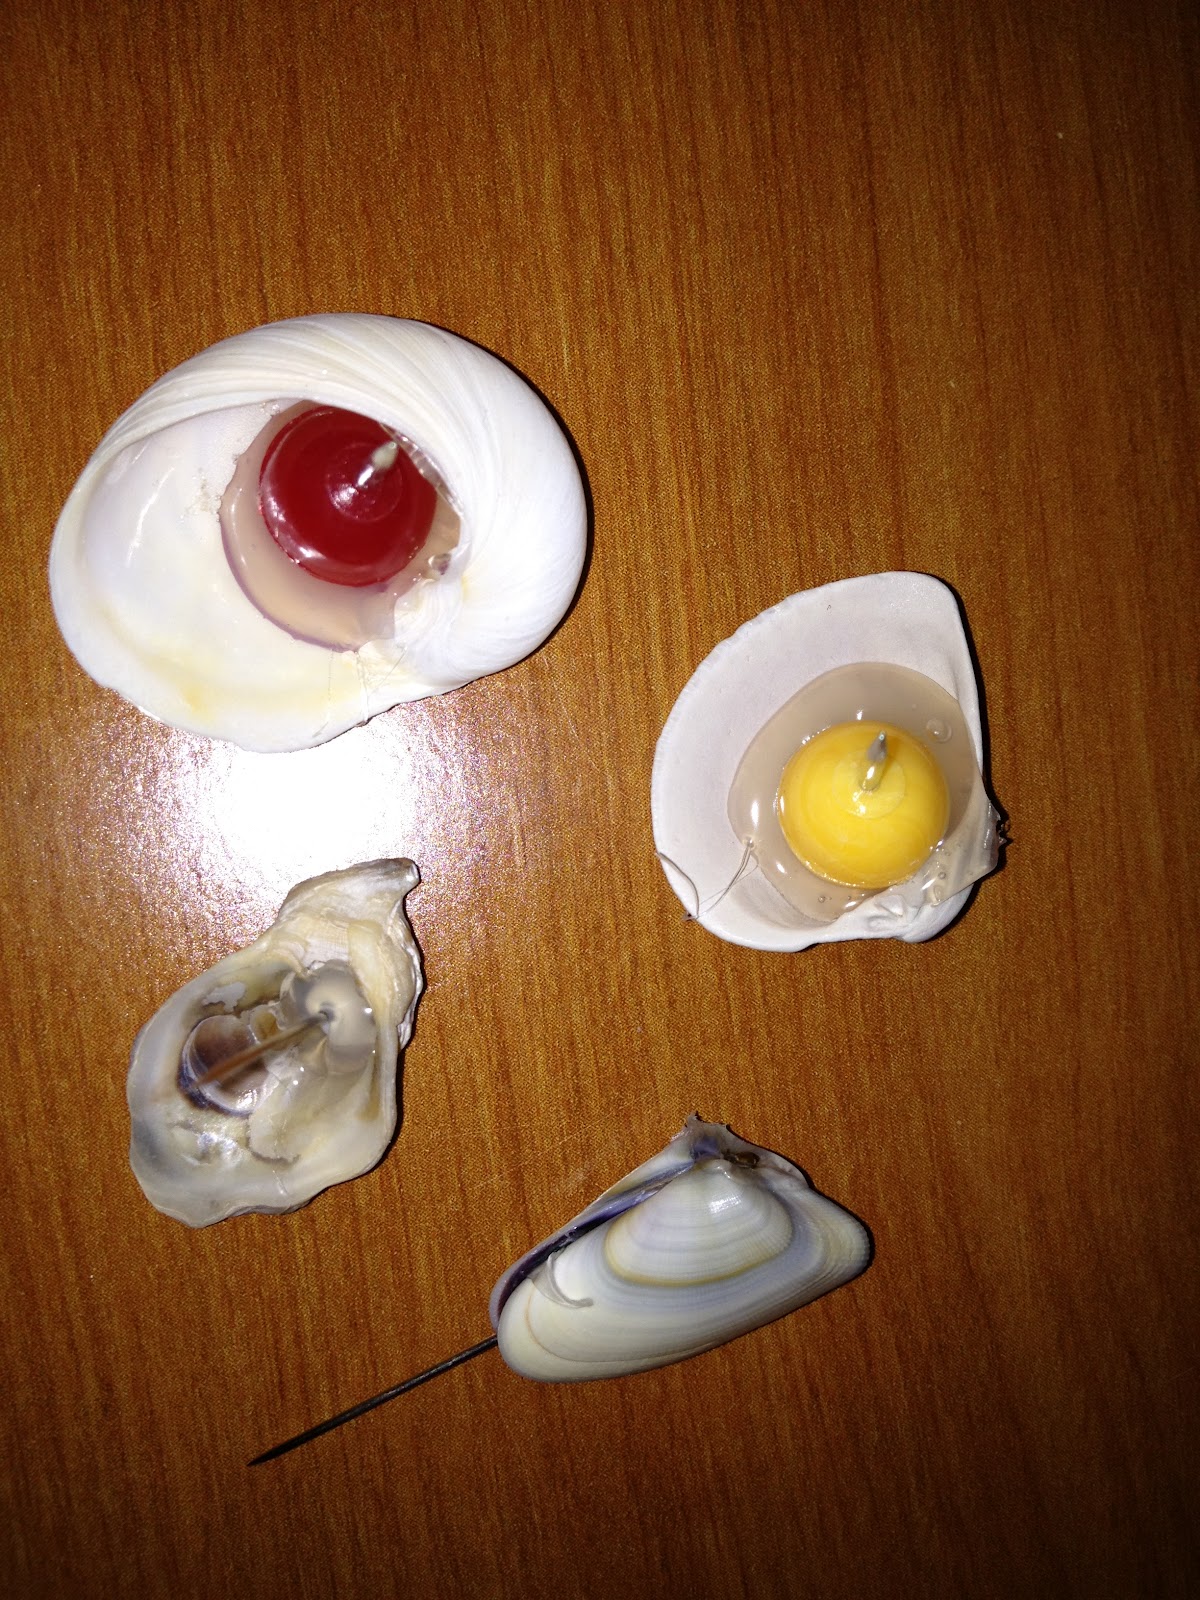
Many of my smaller shells, like Tellina,  have a tendency to fall to the bottom of jars, or get lost underneath bigger shells.  However, I love these little guys - the colors and detail on these is just great.  I made push pins out of a bunch of mini shells recently and just love them!

I used a hot glue gun to adhere ordinary push pins and stick pins to the back side of the shells.

Use hot glue gun to attach a pin to the backside or inside of a mini shell
Shell push pins on bulletin board
These are really easy, inexpensive ways to use sea shells.  I believe keeping the shells as natural as possible helps me to appreciate the amazing job Nature did.  They are simply beautiful!