 |
| Beach Chaise Organizer - made by re-purposing three hand towels |
I was shopping last weekend, preparing for summer beach trips. I am not in the market for any more beach gear - I have plenty. But then I saw an organizer for chaise lounges. What a great concept. It's basically a long piece of fabric with pockets to keep your phone, sunscreen, glasses, etc. handy and accessible. I had to admit that I never have seen one at the community pool or beach. I decided I needed one.
 |
| Beach chair/chaise Organizer |
My husband quickly said, "We don't need to buy that - you can make one yourself for free." I admitted he was right - it looked pretty basic. The packaging did not even show any trim around the edges.
I researched online - a couple of retail sites selling the organizer provided dimensions - anywhere from 39" x 15.5" to 42" x 16". The
Dimensions Guide web site states that a basic hand towel is 11" x 18" and a basic beach towel is 30" x 60".
I determined my fabric options were as follows:
- Three hand towels
- One beach towel
- Terry cloth yardage from the fabric store
Looking around the house, I discovered the towels my husband uses when he plays tennis are about 24" x 15". Since he suggested I make the organizer myself, I figured he would not mind if I re-purposed three of his tennis towels. And, that is exactly what I did. Keep reading to see how I re-purposed three hand towels to create a beach chaise organizer.
How to Sew a Beach/Pool Chaise Organizer Using Three Hand Towels
Materials:
- Cotton terrycloth hand towels - I used three 24" x 15" towels
- Scissors or Rotary Cutter
- Tape Measure and Quilting Ruler
- Pins, thread, seam ripper
- 1-inch Double Fold Bias Tape, optional - Click here to see how I made my own
General How-To:
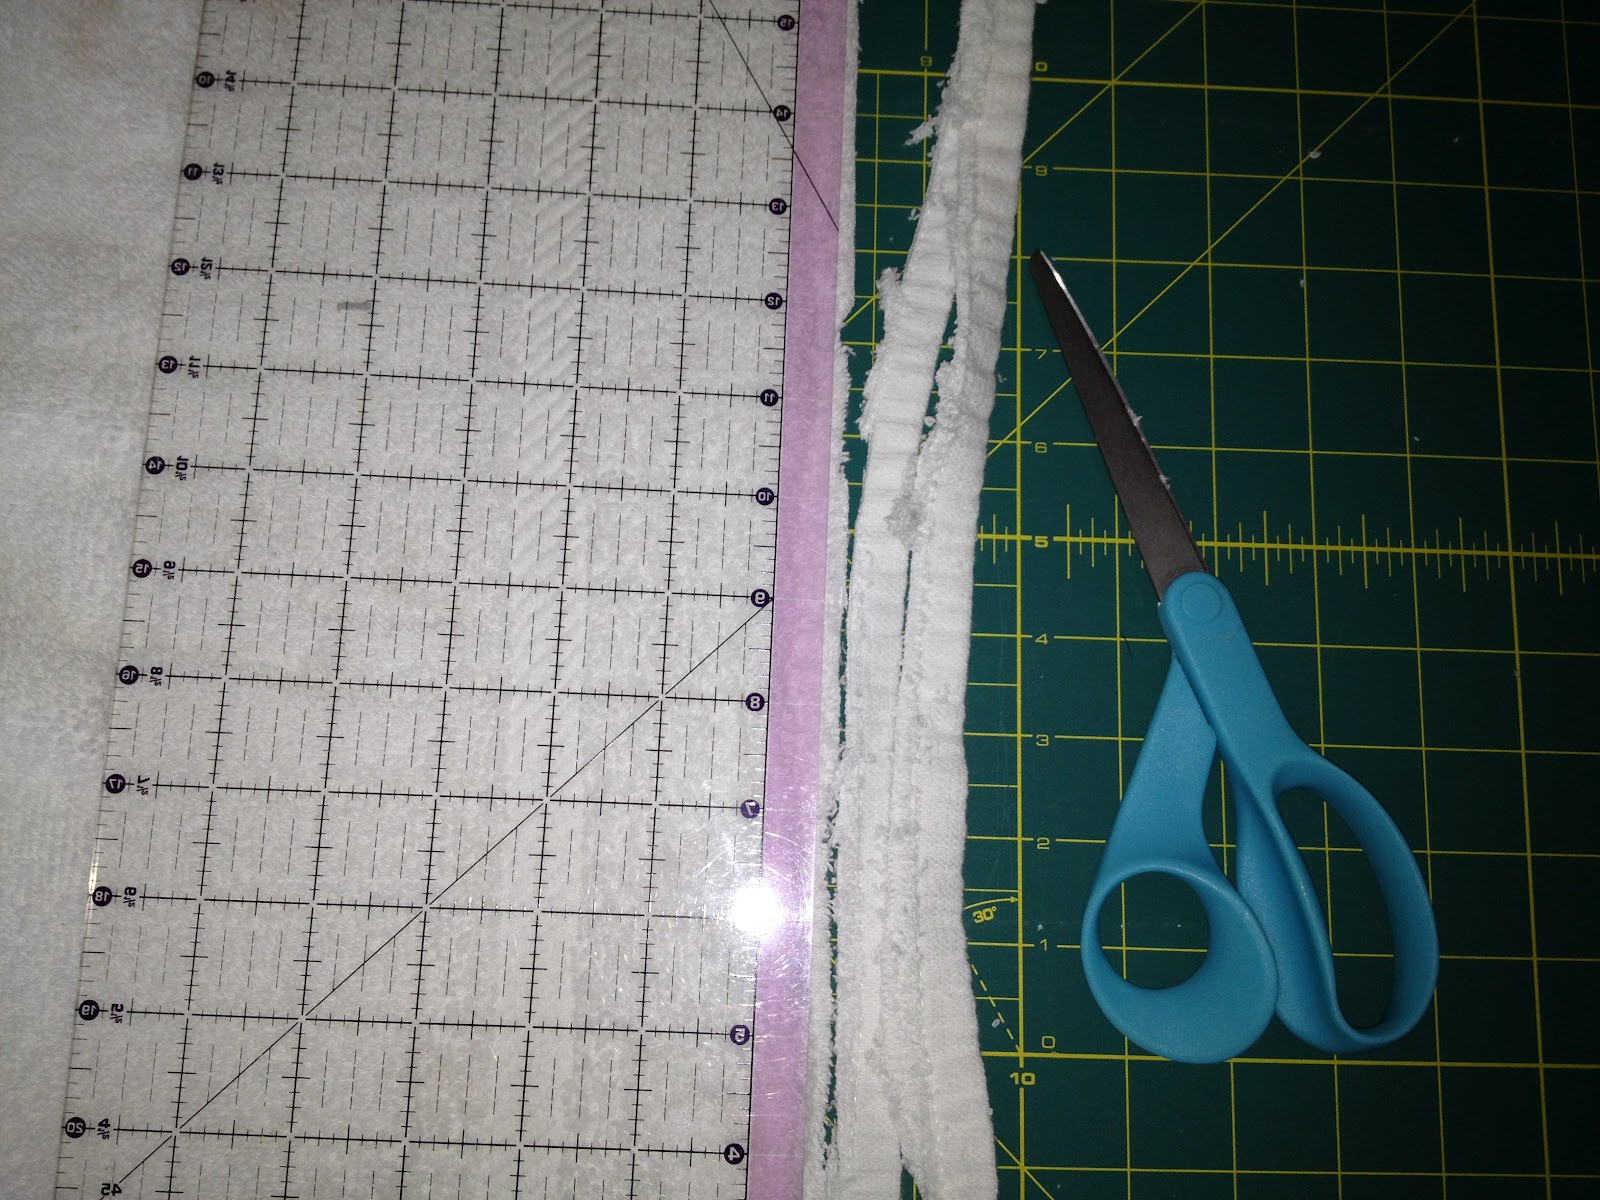
- Match the edges of two hand towels and trim off the excess hem.
Note: This is simply to reduce bulk when sewing.
 |
| A quilting ruler can help keep your line straight when cutting. |
- Sew the two towels, right sides together, using a 1/4" seam allowance.
Note: This forms the base of the chaise organizer and measures 46" long.
 |
| Join first two towels together |
- Cut the third towel in half, creating two equal size pieces of fabric. These are the pocket panels.
Note: I also cut off the ends of the towel, just inside of the decorative trim, to create two 15" x 8" pocket panels. These pieces will be sewn to the ends of the longer towel piece to become the organizer pockets.
 |
| Cut along black lines to create two 8" x 15" pieces |
- Cut two 15" pieces of 1-inch double fold bias tape.
Note: This will trim the top edge of each pocket panel. This is optional - the store-bought organizer did not use trim. I happen to think it jazzes things up and added it.
 |
| Cut 15" piece of bias tape for each piece of fabric. |
- Match edges of bias tape and fabric. Pin in place.
- Sew bias tape to the pocket panel fabric. Remove pins as you go.
 |
| Sew bias tape to edge of the pocket panel fabric. |
 |
| Bias tape sewn onto pocket panel fabric |
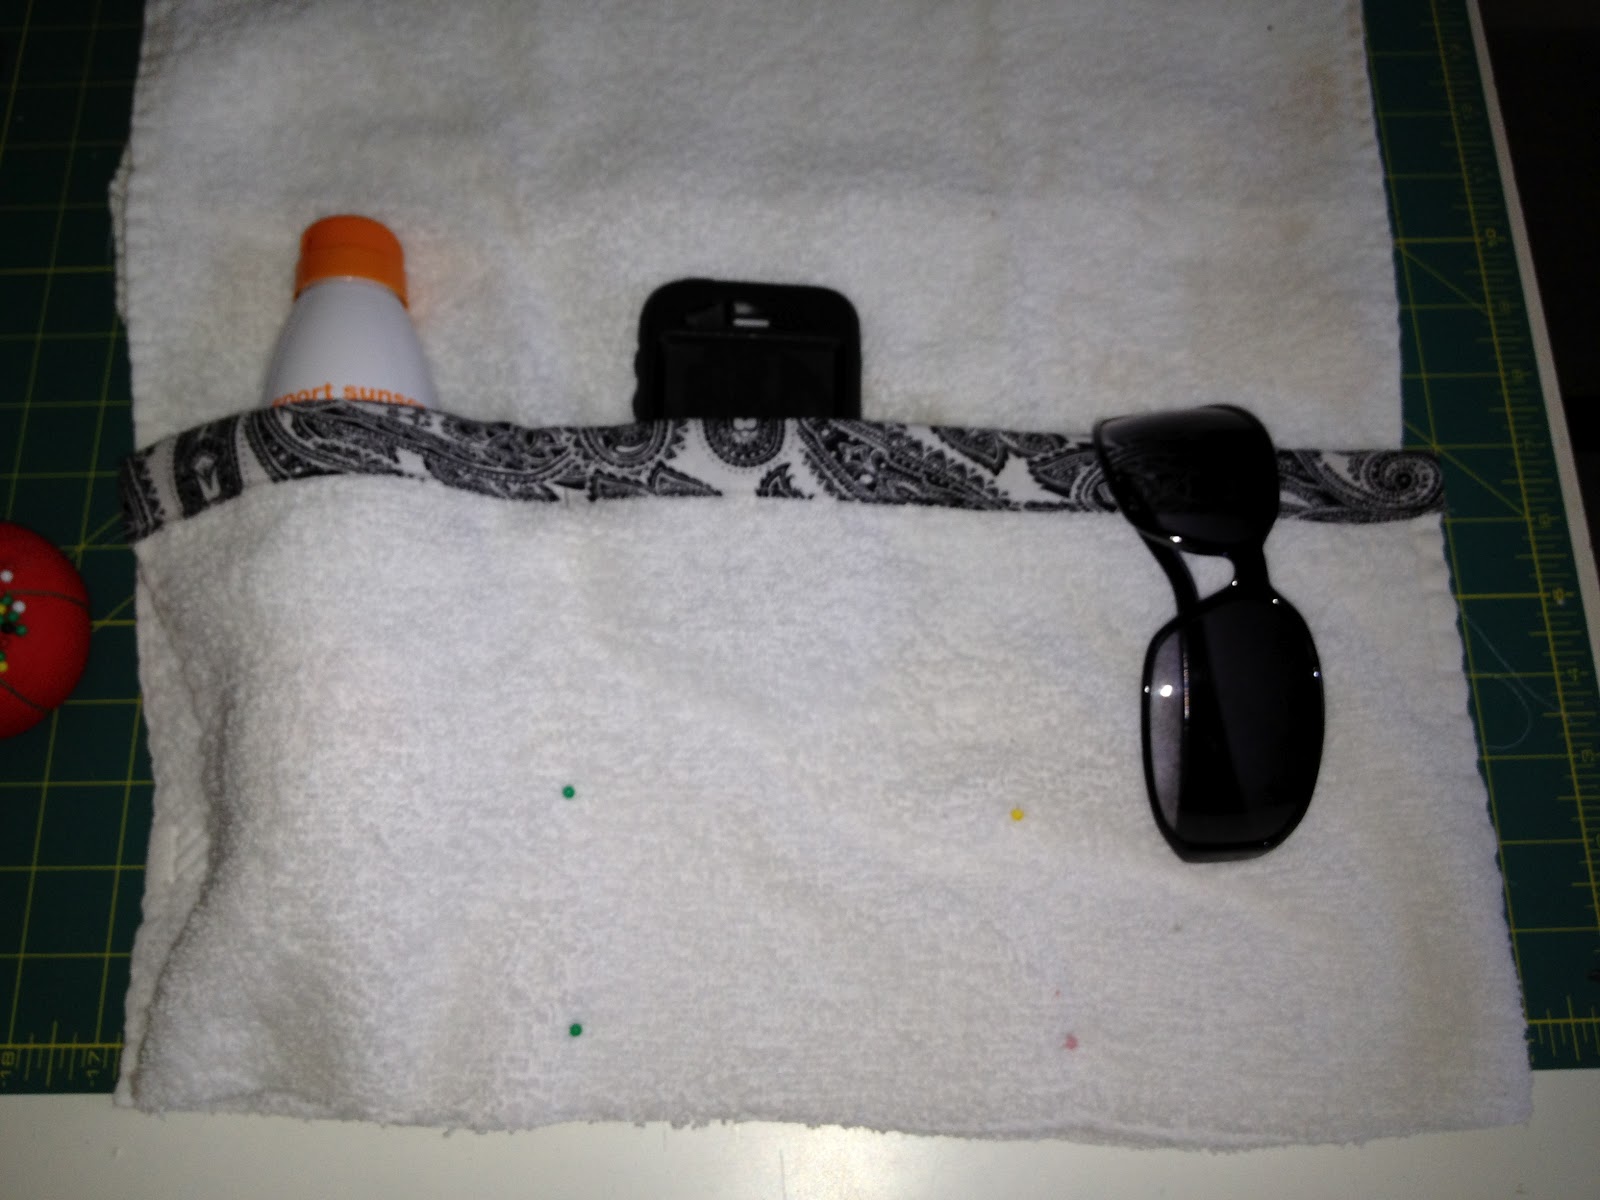
- Place the large fabric piece on a work surface. Lay the pocket panels on the fabric, matching up the ends. Determine where to sew seams. Use pins to mark seam placement.
Note: The seams divide the pockets. I chose to create three pockets on one side and two pockets on the other.
 |
| Pin three smaller pockets for for sunscreen, iPod, glasses, water bottle |
 |
| Pin two larger pockets to accommodate Kindle and magazines/books |
- Sew seams where you pinned. Also sew along the bottom and side - up to the bias tape trim.
 |
| Pocket seams sewn in. |
- Place the organizer back on a large work surface, right side facing down. Match edges of bias tape with edge of fabric and pin in place.
Note: Match up the bias tape ends in an inconspicuous location. When you reach the corner, be sure to use enough bias tape to gently 'pinch' it at a 45-degree angle.
Note: Again,
adding the bias tape trim is optional - the store-bought organizer did not use trim.
 |
| The floor is always a good work surface. |
 |
| At the corner, gently pinch the bias tape to create a 45-degree angle. |
- Sew the bias tape together where they meet using a straight seam.
 |
| Sew a straight seam where the bias tape meets up. |
- Sew the bias tape to the fabric, along the crease of the bias tape. Remove pins as you go.
- Flip the organizer over (right side facing up) and carefully fold the bias tape over to the front side. Top stitch the bias tape close to the edge.
Note: This secures the front of the bias tape and catches the back side. As you get to each corner, be sure to fold the fabric to create a mitered, 45-degree.
.JPG) |
| Detail of mitered corner |
You're done! Pack your new chaise organizer in your beach bag and head to the pool. Or beach. Or, wherever you want to enjoy some summer sun!
 |
| Completed Chaise Organizer |
 |
| New organizer put to use while on vacation - worked like a charm! |
I love this project! I spent about one hour and
zero dollars! This is, of course, because I repurposed the towels and
already had the bias tape on hand. It is a super useful, practical item, too.
I plan to purchase some fabric at the store this week and make a few more chaise organizers before our vacation - my daughter has already requested one in her favorite colors.


.JPG)


We deliver beach equipment rentals in Sarasota, specifically to Siesta beach and Lido beach. Beach Equipment Rental Sarasota in Siesta Key. Call: (941) 724-1550. siesta beach beach equipment
ReplyDeleteThis step-by-step guide for sewing a beach and pool chaise cover is incredibly helpful—practical projects like this always inspire more creative upgrades around the home. It reminds me of how thoughtful enhancements can elevate even the most functional spaces. In a similar way, Manmachine Automotive in India specializes in garage makeovers, offering advanced interlocking flooring solutions
ReplyDeleteand high-quality professional led lights
that completely transform everyday garage areas into efficient, well-designed spaces.